

This is a recipe of my own devising based on wanting something sort of like those rosemary sourdoughs you can buy in the store, but heartier and with more depth of flavor. Be warned, this recipe takes a while – you will want to start your sponge at least 2 days before you want to eat the bread. You are giving your starter culture plenty of time to ferment and build up – which means you can use unfed starter straight from the fridge if you like!

Tools Used
- Mixing bowls (at least 2)
- Heatproof Spatula
- Scale
- Measuring spoons
- Plastic wrap
- Kitchenaid Mixer with dough hook (optional)
- Proofing basket (optional)
- Refrigerator
- Small dutch oven (4.5 quart) OR 8×4 loaf pan OR baking sheet
- Parchment paper
- Oven
- Oven mitts
Note about your baking container: You will be starting this bread at an oven temperature of 425*F. Some loaf pans are only rated to 400*F depending on the material – cast iron and ceramic should be fine, aluminum is questionable and nonstick is definitely not a good idea. Please double check what you have against the temperature. (If you really have no other choice, you can lower the starting temperature to 400*F but it will take longer to bake and get less oven spring.)
Ingredients
This is a list of total ingredients needed for the recipe, it will specify at each step. Your overall hydration level of the dough is 67% – not a very wet dough, so it is easy to work but also will not give you the big holes of the artisan style sourdoughs. If you prefer a higher hydration dough, add the extra water in the final dough mix, not in the sponges.
- 1 oz Sourdough starter culture
- 4 oz Whole Wheat Flour
- 3.5 oz Bread Flour
- 10 oz All Purpose Flour
- 2-3 tsp Rosemary – dried or fresh, each will give you a different but good flavor, adjust to get the flavor profile you like (this is hard to judge by weight since dried and fresh will vary a lot in weight)
- 2 tsp Salt
- 12 oz Water
- 1 tbsp Olive oil (optional)
A note about flour: I prefer to use King Arthur brand flour over most store brands because it has a consistent, labeled, protein percentage. If using other brands, try to get unbleached for your all purpose flour.
A note about your sourdough starter culture: This is assuming that you keep your starter culture at a 1:1 ratio of flour to water by weight. If you keep it wetter or stiffer it shouldn’t make too much difference since it’s such a small percentage of the final dough, but you may want to adjust your prior refreshment to be 1:1 to be sure. I keep a fairly small volume of starter at a time which is why we are only starting with 1 oz.
Process
First Sponge (Evening)
Make Sponge: Thoroughly mix 1 oz sourdough starter culture, 2 oz whole wheat flour and 2 oz room temperature water in a mixing bowl. Cover with plastic wrap and set aside overnight to ferment. Total weight = 5 oz
Second Sponge and Scald (Morning)
Sponge: Thoroughly mix your first sponge with 3.5 oz bread flour and 3.5 room temperature water in the same mixing bowl, recover with plastic wrap and set aside for ~6 hours to continue fermenting. Total weight = 12 oz
Scald: Boil water. Thoroughly mix 2 oz whole wheat flour and 2 tsp rosemary with 4 oz boiling water in second mixing bowl. Cover with plastic wrap and set aside. Total weight = 6.1 oz
Note about the scald: This doesn’t have any yeast in it so you do actually have to worry about invasive microorganisms. The boiling water should kill anything on your rosemary and flour but overall it’s best to not leave this out more than 6 hours. Once it’s cooled to room temperature you could put it in the refrigerator to be safe.
Why scald? The scald technique I stole from eastern European rye bread recipes. It will help imbue the flour with the flavor and smell of the rosemary but it’s a different rosemary flavor than you get when you use a rosemary infused in oil. In my opinion, it’s a little subtler and less soapy. The scald will also activate the gluten and break down the sugars in the whole wheat flour adding additional flavors to the final dough.


Dough (Afternoon)
Make Dough: Thoroughly mix your 12 oz second stage sponge and 6.1 oz scald with 10 oz all purpose flour, 2 oz water and 2 tsp salt until it forms a shaggy dough. Add the olive oil towards the end of mixing if you are adding it. If you are mixing in your Mixer with the bread hook, start for about 2 minutes on low and then 5 minutes on speed 2, add the olive oil just at the end for a minute before you are going to remove the dough.
Prepare for bulk fermentation: Wash one of your mixing bowls and rub olive oil on the interior with a paper towel. Place dough in mixing bowl and cover.
Bulk Fermentation (Afternoon)
Building dough strength: Complete a series of stretch and folds with the dough at the 30 minute and 1 hour mark.
Rise: Cover dough and leave to ferment for 1-3 hours until it has increased in size noticeably. (The wide range of time here is because your starter and your house conditions will cause a large variety of time for fermentation. Keep in mind that the warmer it is where you place your dough the faster it will rise.)
Shape and Proof (Evening)
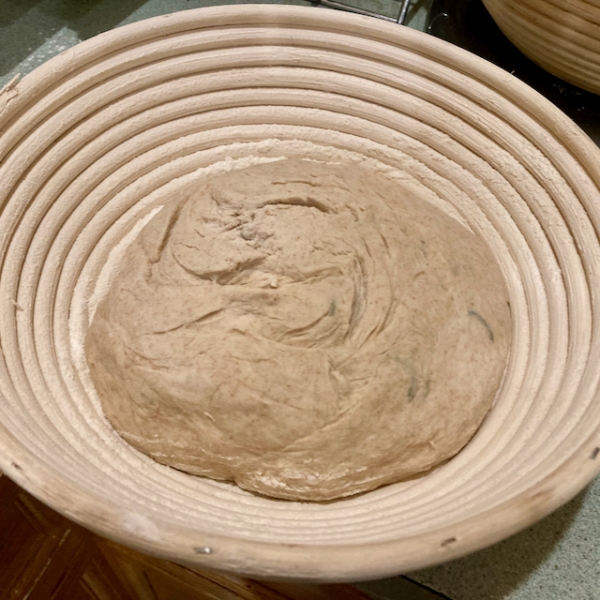
Shaping: Remove dough from the mixing bowl and use a floured surface to shape it for your desired shape based on baking container. I prefer to bake this bread as round boules in my dutch oven, but you can also bake it in a loaf pan or as any shape on a baking sheet.
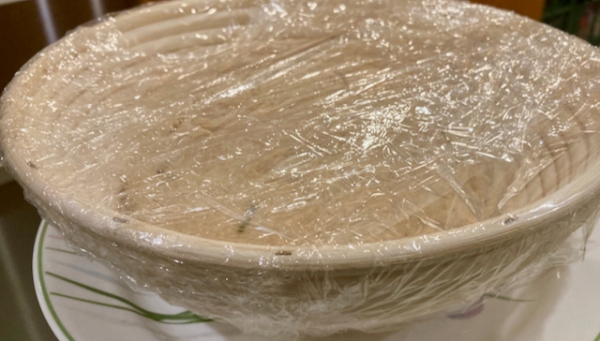
If shaping a round loaf, place in floured proofing basket (or just line a mixing bowl of the right size with a floured cloth) and cover with plastic wrap. If using a loaf plan, prepare your loaf pan and place shaped loaf in there and cover with plastic wrap. Getting a good seal is very important here because you will be proofing this in your refrigerator and you don’t want it to dry out too much. You may need to completely wrap the container in plastic wrap to get a good seal.
Proof overnight in the refrigerator. This dough can go multiple days in the fridge without being overproofed in my experience, but all we’re looking for is overnight.
Why cold proof? Cold proofing your dough will bring out the sourness of your sourdough by increasing the dough acidity. If you do not want your bread to be as sour, you can proof the dough at room temperature for 1-2 hours until it passes the poke test and then bake it.
Bake (any time the next day)
Preheat your oven to 425*F. If you are not baking in a Dutch oven, you will want to add steam for the best crust. I recommend placing an oven rack on the bottom position and putting a pan with water there when you start your oven.
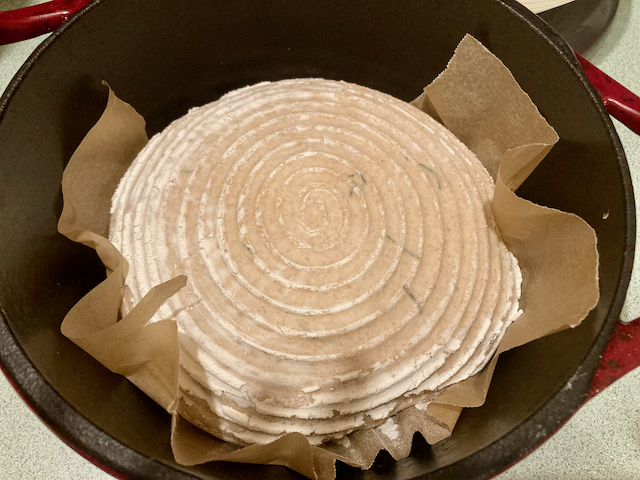
Remove the loaf from the refrigerator and remove the plastic wrap. If you are baking in the same container that you proofed in, allow it to warm up to room temperature so you don’t thermal shock your container. If you used a proofing basket, use parchment paper to transfer your loaf from the proofing basket. (Make sure to line your baking sheet with parchment paper if you are baking on one.) What was the top of the loaf in the basket will now be the bottom on the sheet/in the dutch oven.
Once the loaf is in/on its baking container, slash the top. It really doesn’t matter what design that you do. I like to slash my boules with a simple plus sign as I like to cut them into quarters to slice them. Go wild and artistic if you want!


Bake: 25 minutes at 425*F with steam / with lid on the Dutch oven. Lower oven temperature to 375*F and remove lid/remove steam pan. Bake for another 25 minutes or until internal temperature reaches 200*F and loaf is solid when tapped.
Remove from oven and allow bread to cool for at least 30 minutes before slicing.
