A step-by-step tutorial to make the tastiest homemade sandwich bread you’ve ever had! Anyone can make it using this guide and recipe.
Disclaimer: Some of the links in this post are affiliate links. We are a participant in the Amazon Services LLC Associates Program, a means for us to earn fees by linking to Amazon.com and affiliated sites. Here’s our full disclosure.
I’ve always been afraid of the fickle beast. That’s what my friend, Carla, and I call yeast. Good homemade bread without a bread maker has eluded me for years, because I could never get the yeast or recipe or something just right. That all changed recently.
One of my best friends and mentor, “Aunt” Jeannette, spent the afternoon with me and my 4-year-old daughter last week teaching us the art of making homemade bread. As I made this same recipe again with my daughter this past weekend, I reflected on the soulfulness–the great history of humanity even–that is felt when you make bread and pass it on to another generation. Perhaps one day I’ll be able to pass along this little artifact from our home to my daughter’s children.
Now, besides the beauty of the process, homemade wheat sandwich bread is the best sandwich bread I’ve ever tasted. I’m not exaggerating. Not only is it all recognizable ingredients (aka real food!), but your family will gobble it up and it’s cheap. Read on to see how much I’m saving by making my own now.
I picked Jeannette’s brain, tested this recipe many, many times, and did research to create this complete guide to making homemade wheat sandwich bread. Expect that I’ll be experimenting with a 100% whole wheat bread and the use of honey as a sweetener soon! I really encourage you to give this recipe a try and let me know how it goes!
Why should I take time to make my own homemade sandwich bread?
It’s MUCH tastier than bread you can buy at the store.
It’s cheaper than the store (see my savings below).
You control what goes in. No preservatives or yucky cheap ingredients like HFCS or words you can’t pronounce.
Did I mention it tastes good? This bread makes your home feel and smell like home.
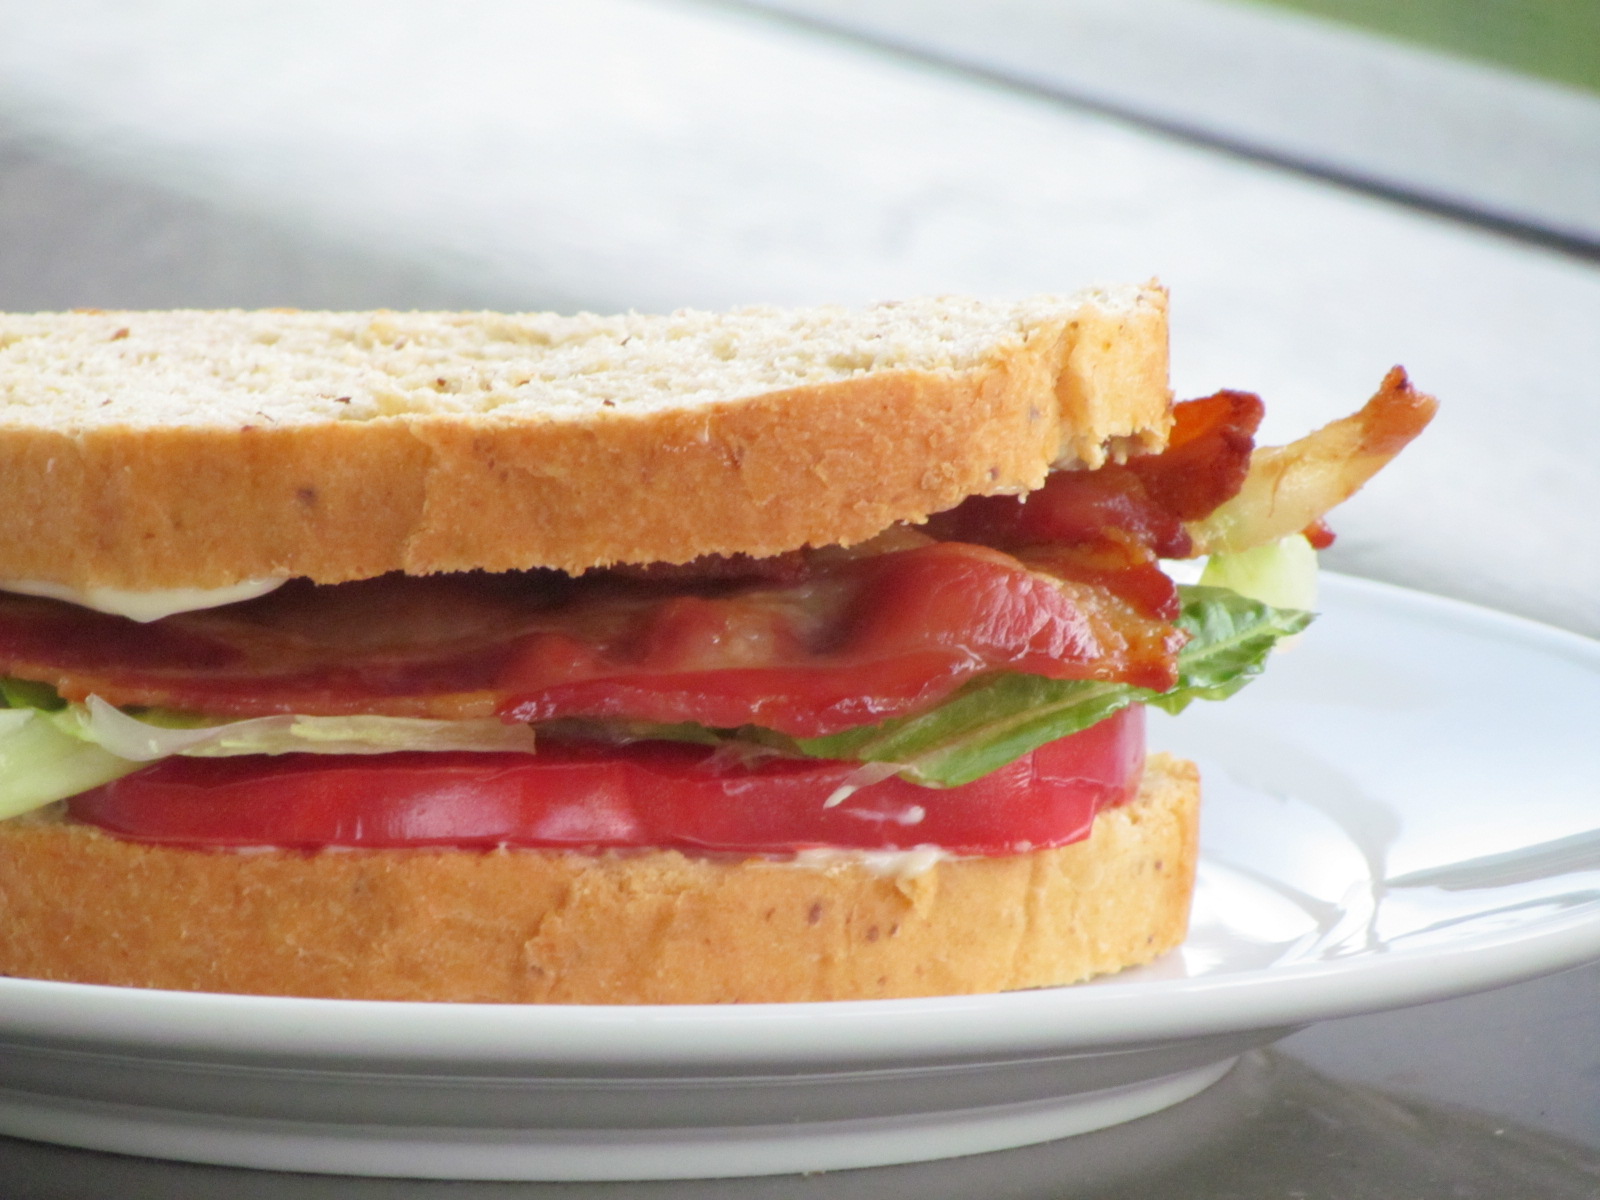
Here are just two of our favorite ways to use this sandwich bread…
3 small loaf pans (These are the ones we used and highly recommend! Their smaller size makes for a shape that is much like sandwich bread and produced a beautiful golden top.)
What ingredients do I need for homemade wheat sandwich bread?
whole wheat flour (I highly recommend white whole wheat flour, because it’s much lighter.)
I’ve been buying some delicious bakery bread for years that is about $6 a loaf with tax. I know…ridiculously expensive. But, it’s really, really good and not full of preservatives. In fact, most of the homemade loaves at our farmer’s market are $6 and up.
Here’s my rough estimate of what our Homemade Wheat Sandwich Bread cost me with the ingredients I used. I’m sure you could use cheaper ingredients than I did, though. Check out how much money I’m saving per loaf now!
So, if I make my own bread, I’m saving $3.00 per loaf of bread. We go through three loaves a week, so that’s $36/month saved!
How long does it take to make 3 loaves?
Here’s the time break-down:
30 minutes to put the ingredients together and knead in the mixer
about 1 hour for the first rise
about 30-40 minutes for the second rise
about 25 minutes to bake
TOTAL TIME = 2 1/2 – 3 hours (only about 40 minutes of that is active work on your part)
So, if you spend one morning a week (in between doing other chores around the house), you can have homemade wheat sandwich bread for the entire week!
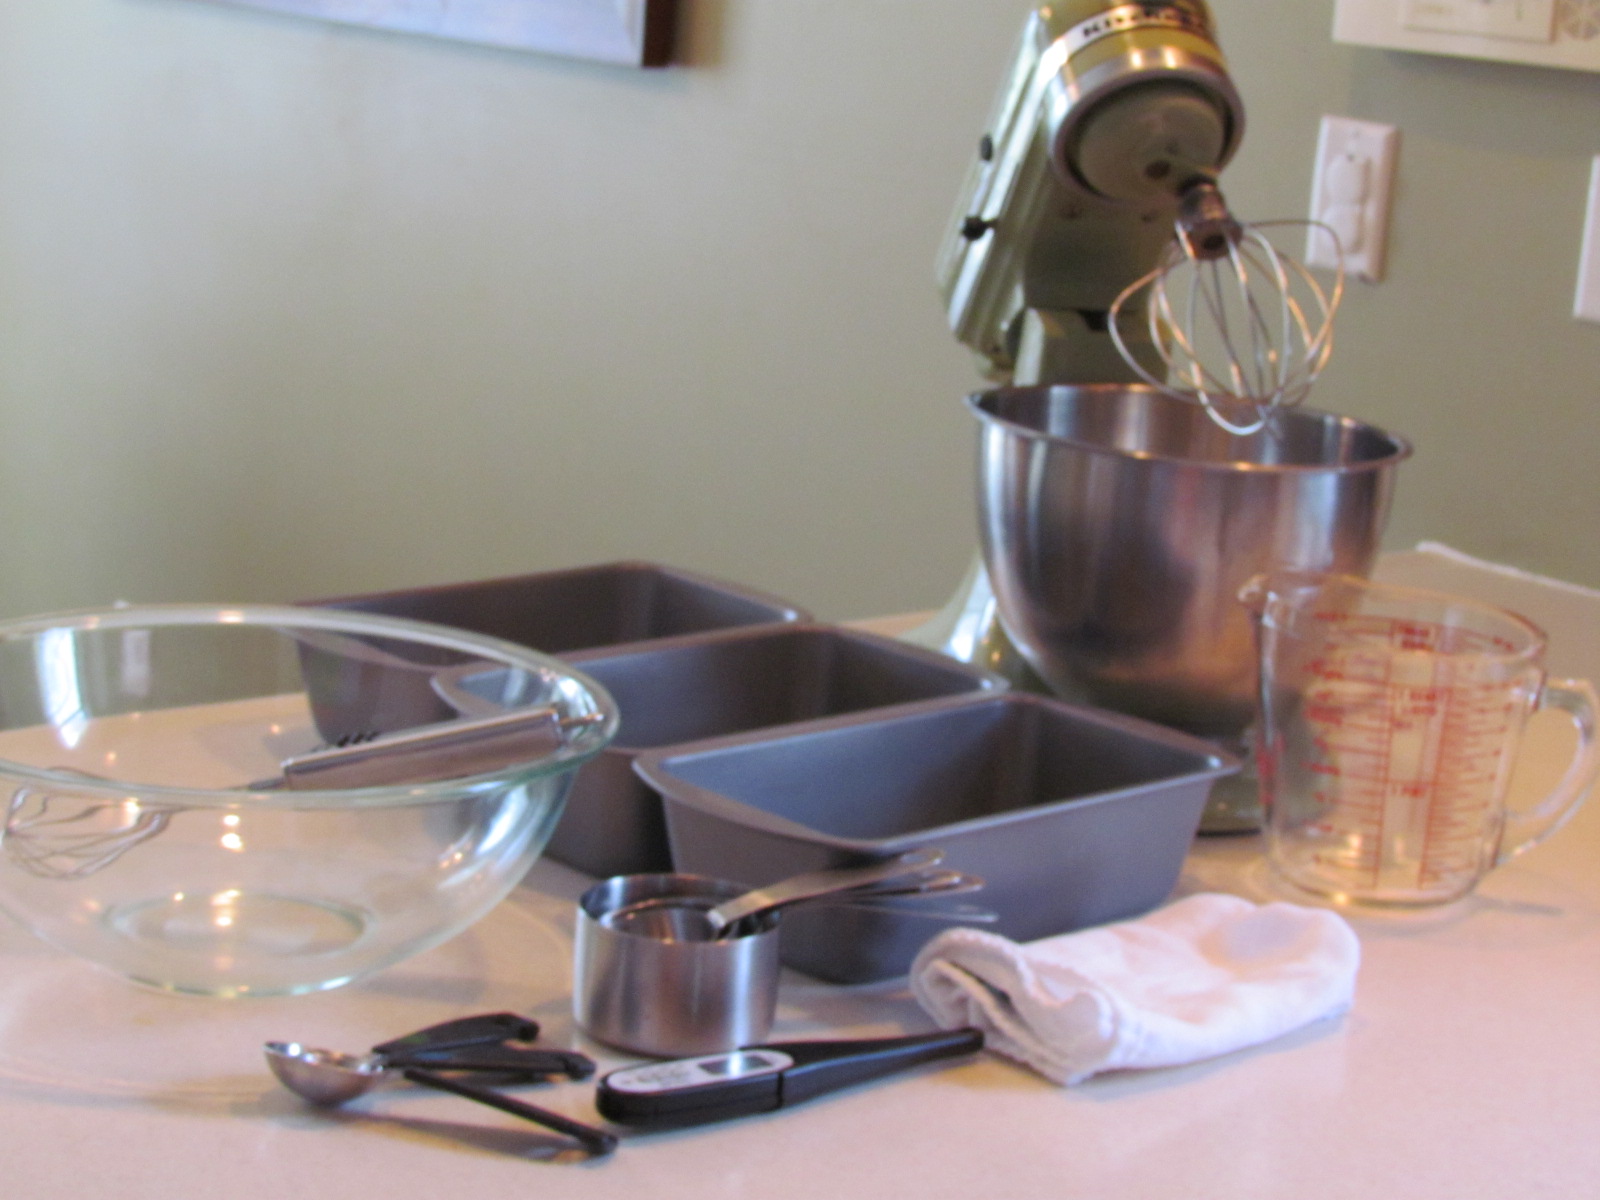
What else do I need to know before starting?
Read through the entire recipe and lay out all equipment and ingredients.
The most precise part of this recipe is getting the water the right temperature so you don’t kill the yeast or not activate it. That’s why you need a thermometer.
Keep moving quickly at the beginning of the recipe to stay on track with the timing. You’ll have time to clean up and work on other things during the two rise cycles and while it’s baking.
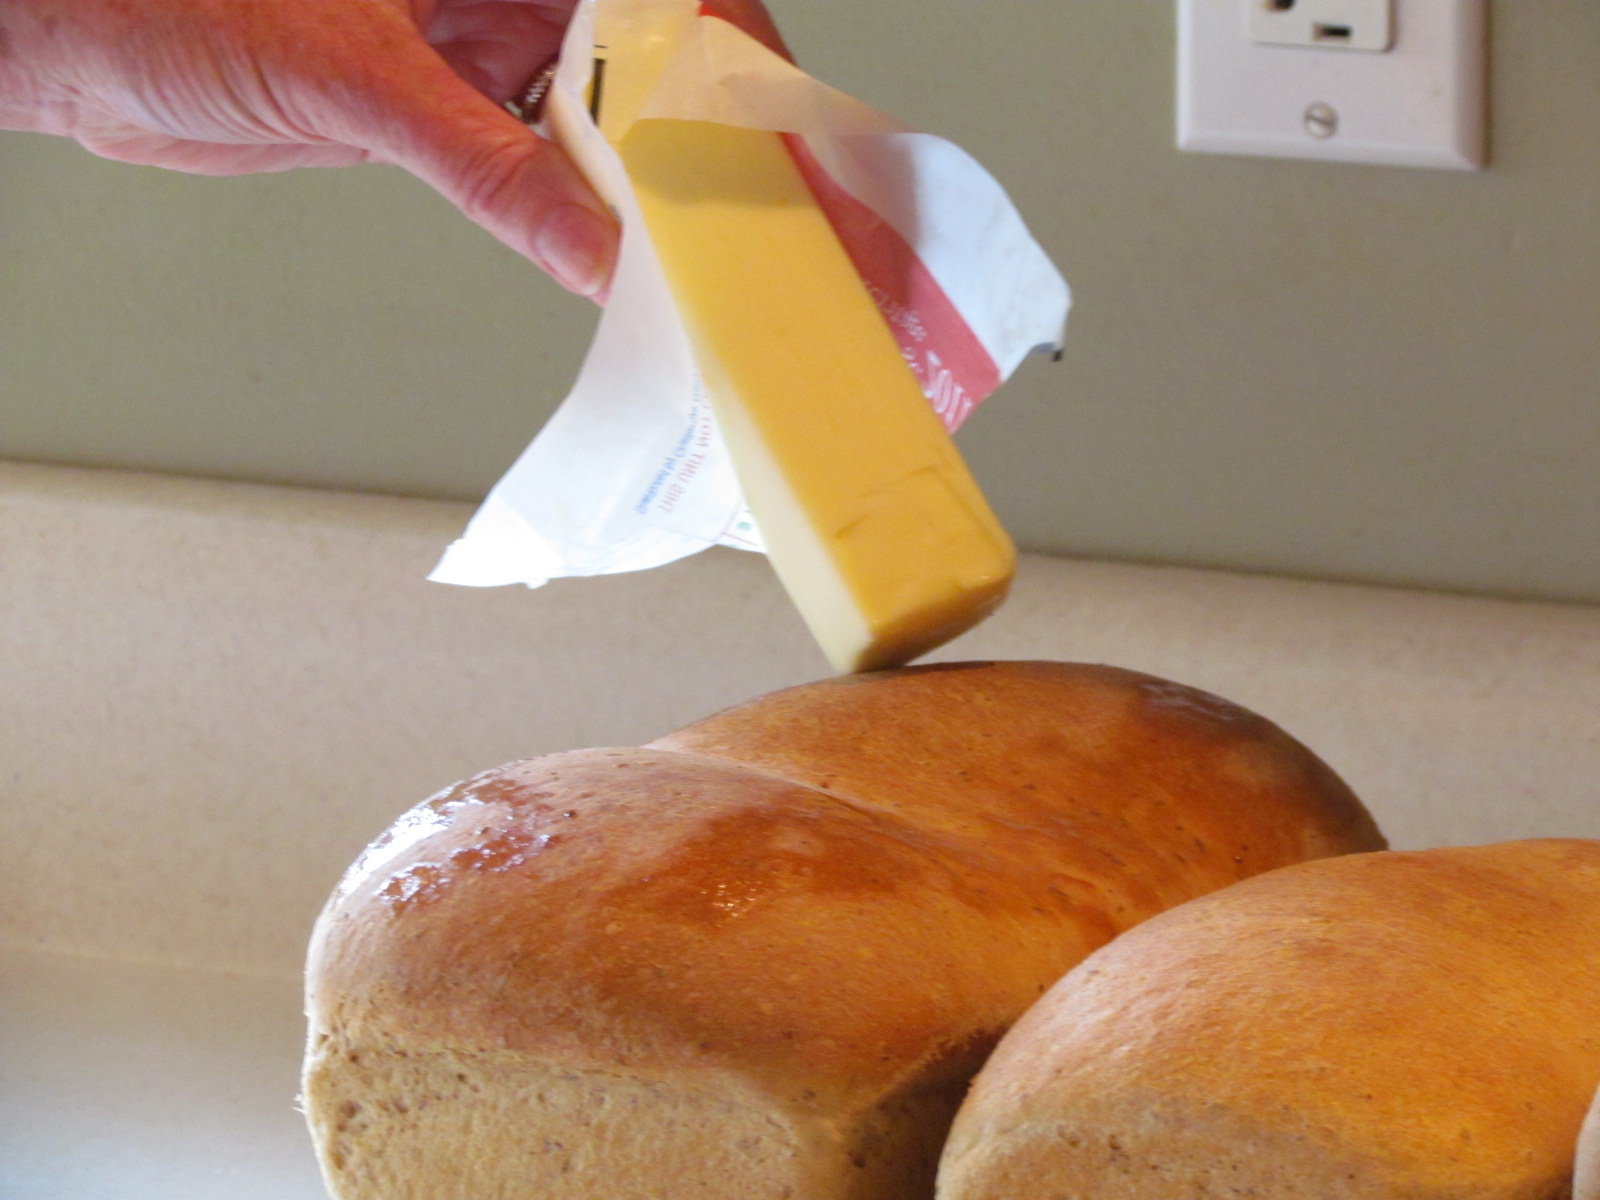
Take a cold stick of butter after it’s done, and run it over the top as soon as it comes out. Makes a pretty glaze and adds flavor!
Other than the temp of the water, bread-making is more of an art than a science. Experiment with the amount of flour. Keep in mind that weather and temperatures within your home will affect it, as well. It just takes practice…and I know I still have a lot to go! But, it’s so fun.
How should I store the bread? How long does it last?
Tightly wrap cooled bread in plastic wrap and store on the counter or in pantry. It may last longer in the fridge, but it will get drier faster.
If you aren’t going to use it within 2-3 days, tightly wrap in a few layers of plastic wrap and then with foil on the outside. Place in the freezer, where it will stay good for up to 3 months.
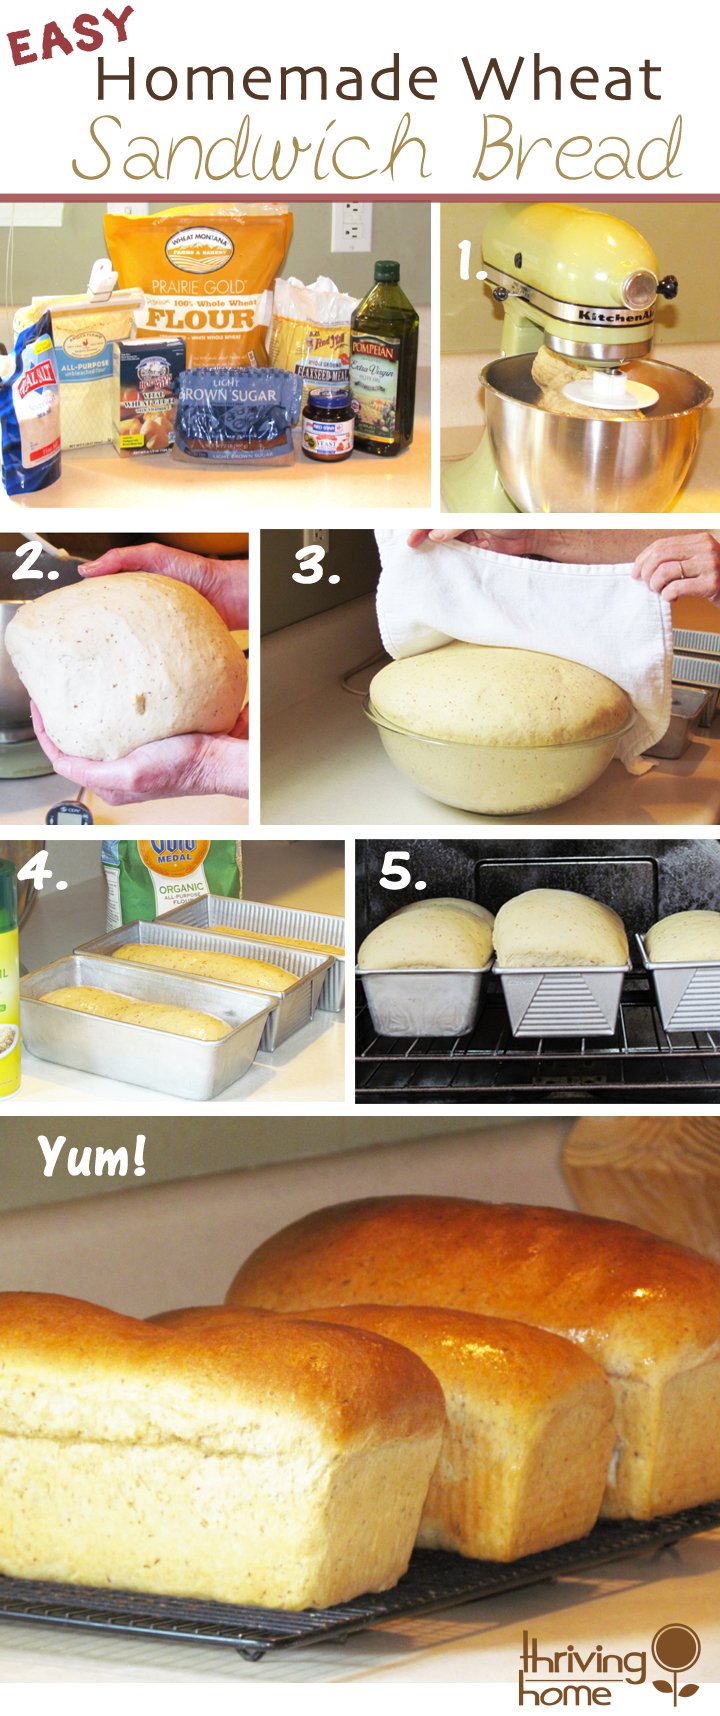
Here’s a tutorial of how to make Homemade Wheat Sandwich Bread, complete with pictures. The full recipe is at the bottom.
Ingredients:
3 cups warm water (110-115 degrees) 1 ½ tablespoons yeast ¼ cup sucanat or packed brown sugar 3 ½ cups unbleached white flour, plus ½-1 cup more as needed (if dough is too sticky and for dusting the counter) 3 ½ cups white whole wheat flour ¼ cup ground flaxseed 1 tablespoons salt 3 tablespoons vital wheat gluten, optional 1/3 cup extra virgin olive oil a cold stick of butter, optional
Step-by-Step Directions:
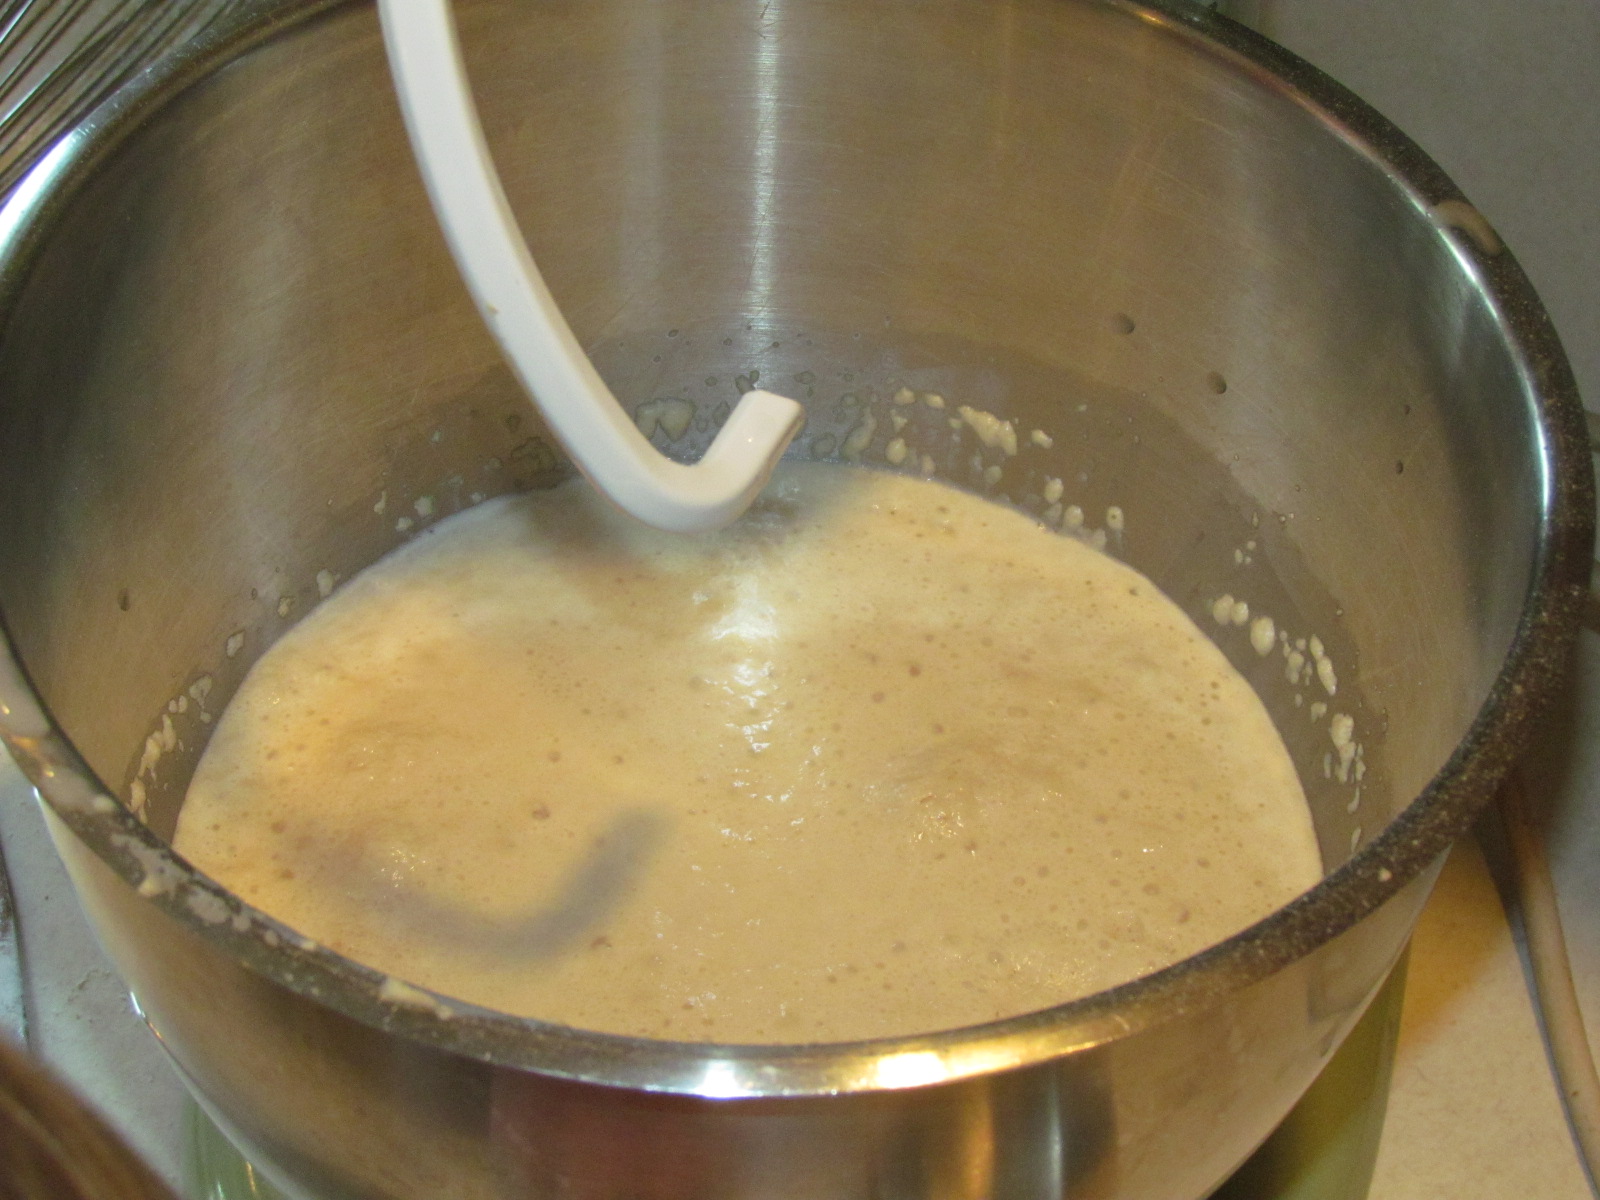
1) In your kitchen aid mixer bowl, add warm water (make sure it’s between 110-115 degrees), yeast, and sugar. Stir until combined and let stand 10 minutes. Should become foamy on top, like mine above, if the yeast is activated. If not, sorry, start over.
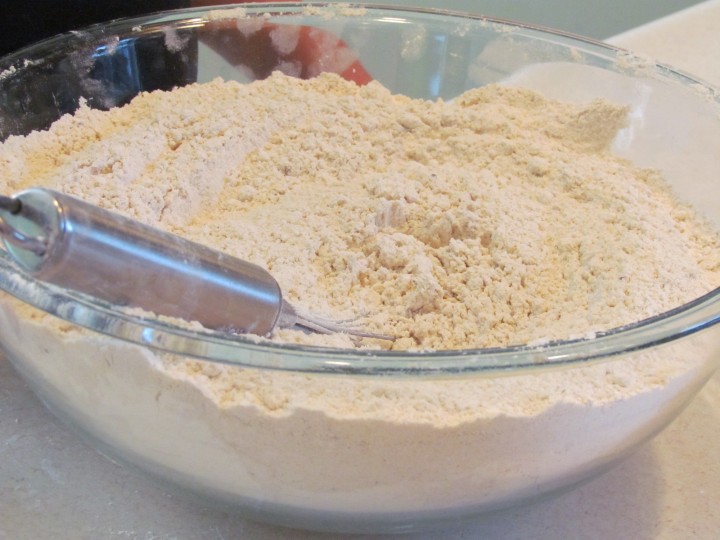
2) Meanwhile, in large mixing bowl, whisk together flours, flaxseed, salt, and vital wheat gluten (optional).
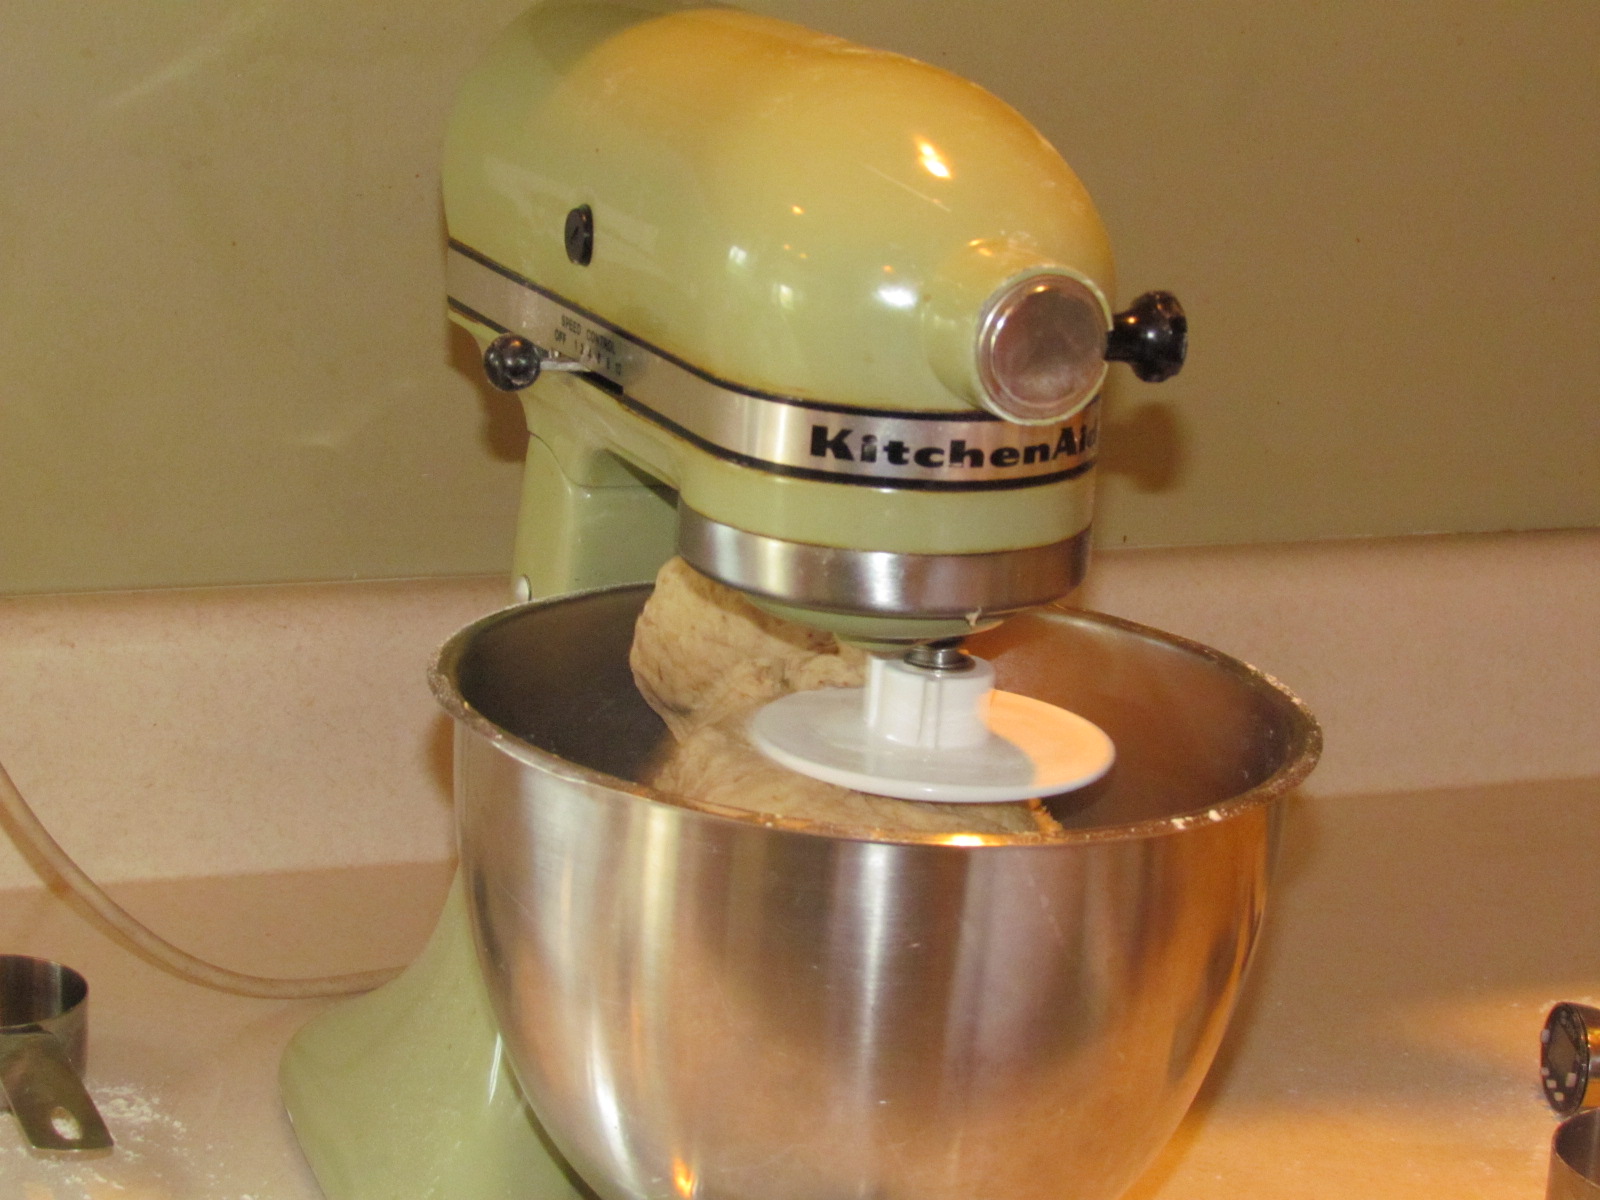
3) Then, add olive oil into the yeast/water mixture. Don’t stir. Then stir in the flour mixture until combined. Using the bread hook, mix dough on a low setting in Kitchen Aid Mixer for about 10 minutes.
4) Stop and take it off the hook every few minutes to assure it’s mixing well. (I do this about 3-4 times.) You can also add more small amounts of flour in increments if the dough is too sticky while it is mixing.
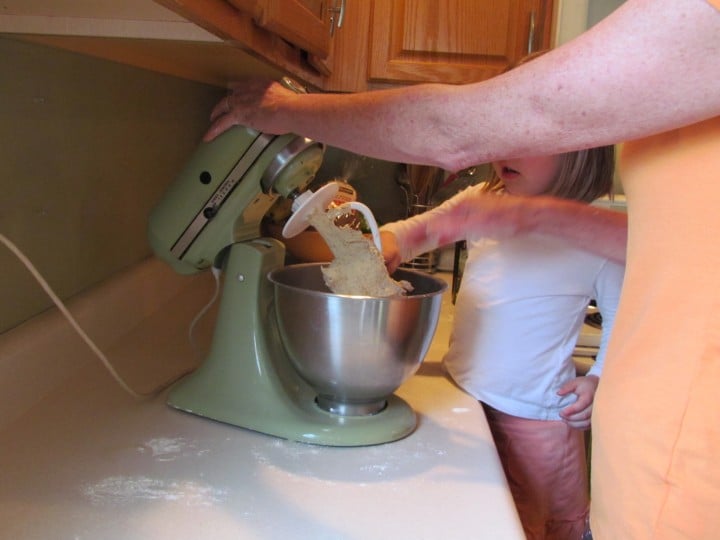
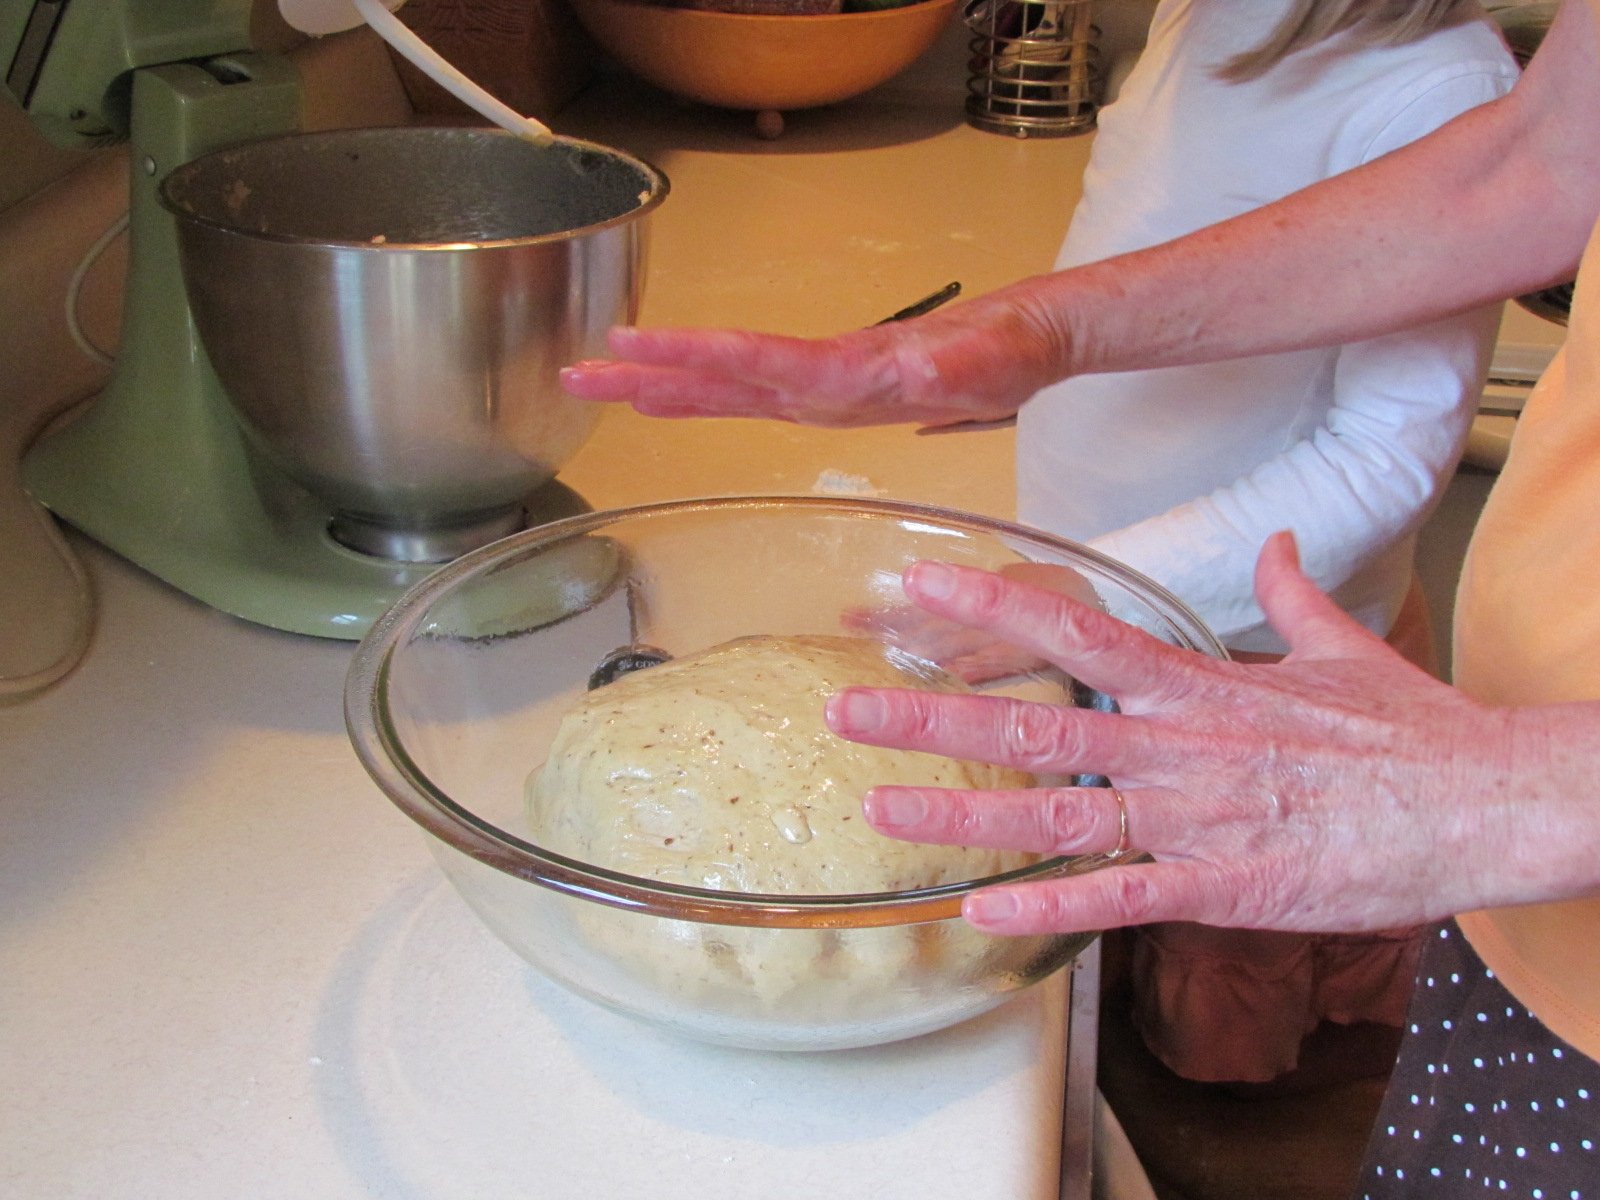
5) Place dough ball in large greased bowl. Turn it around in the bowl to get it greased all around.
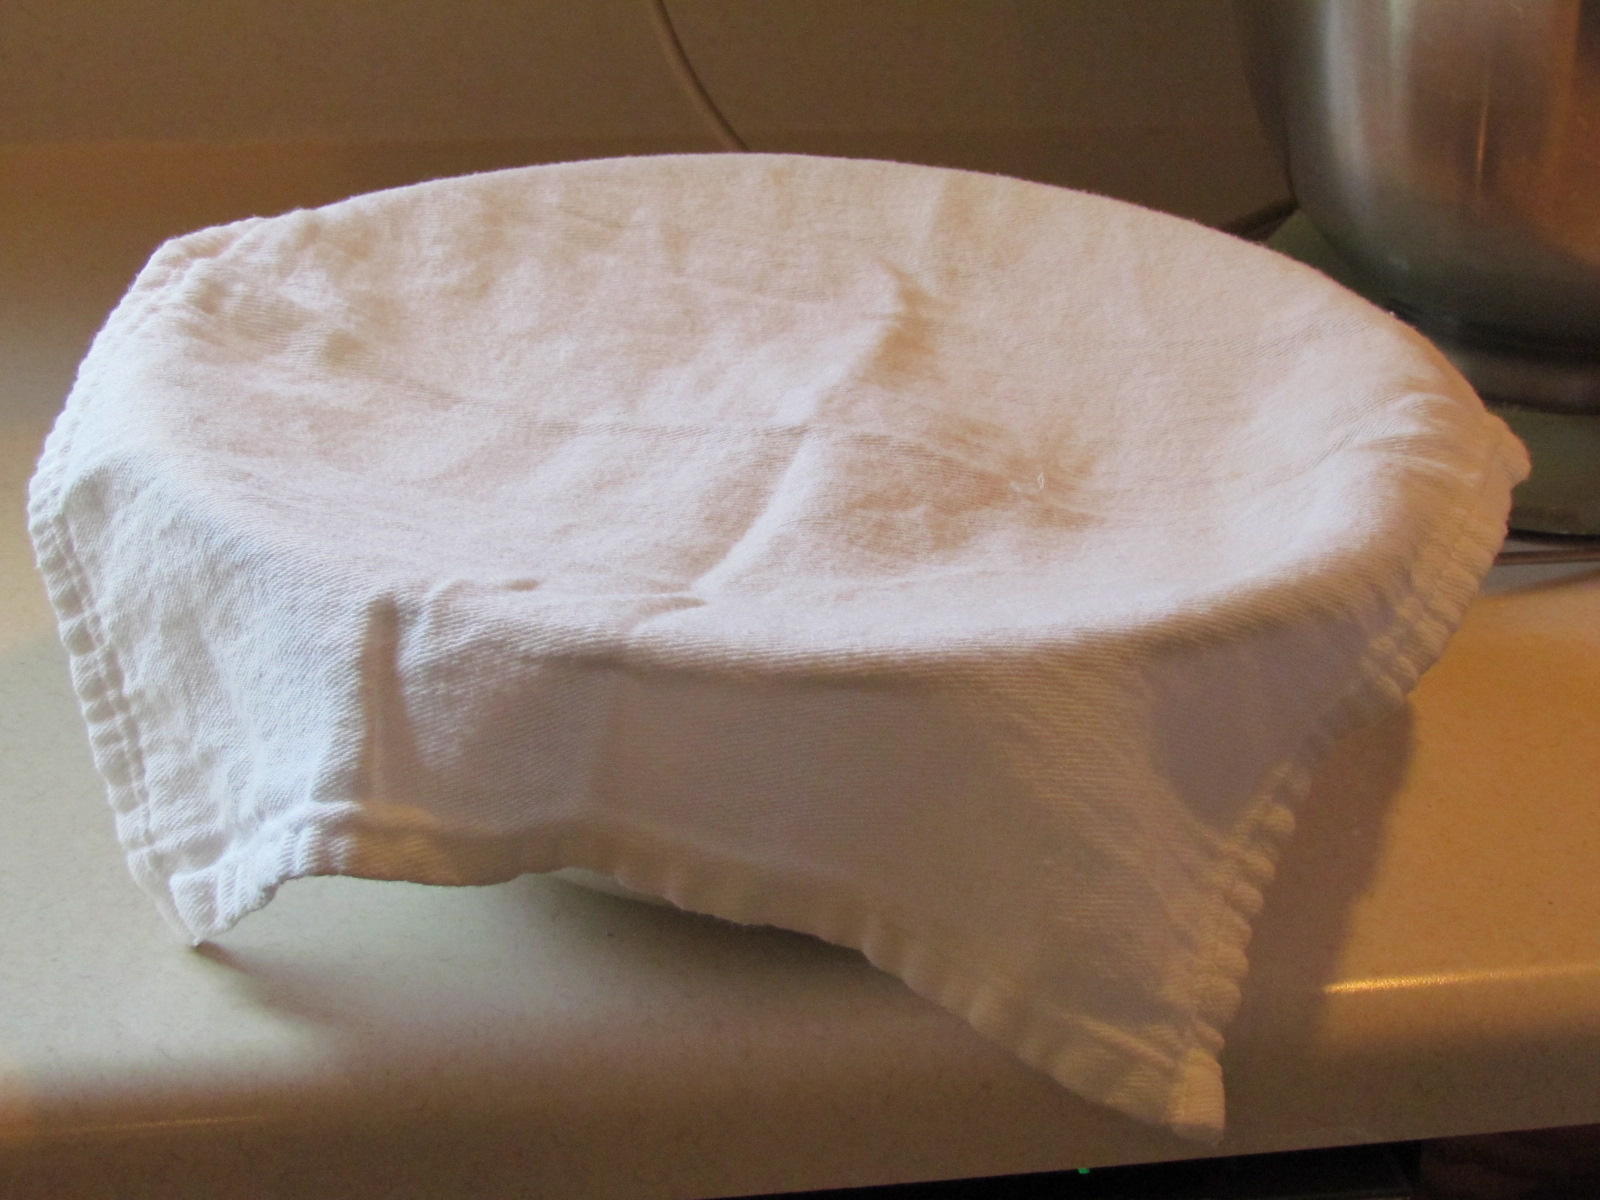
6) Then cover the bowl with a smooth dishtowel.
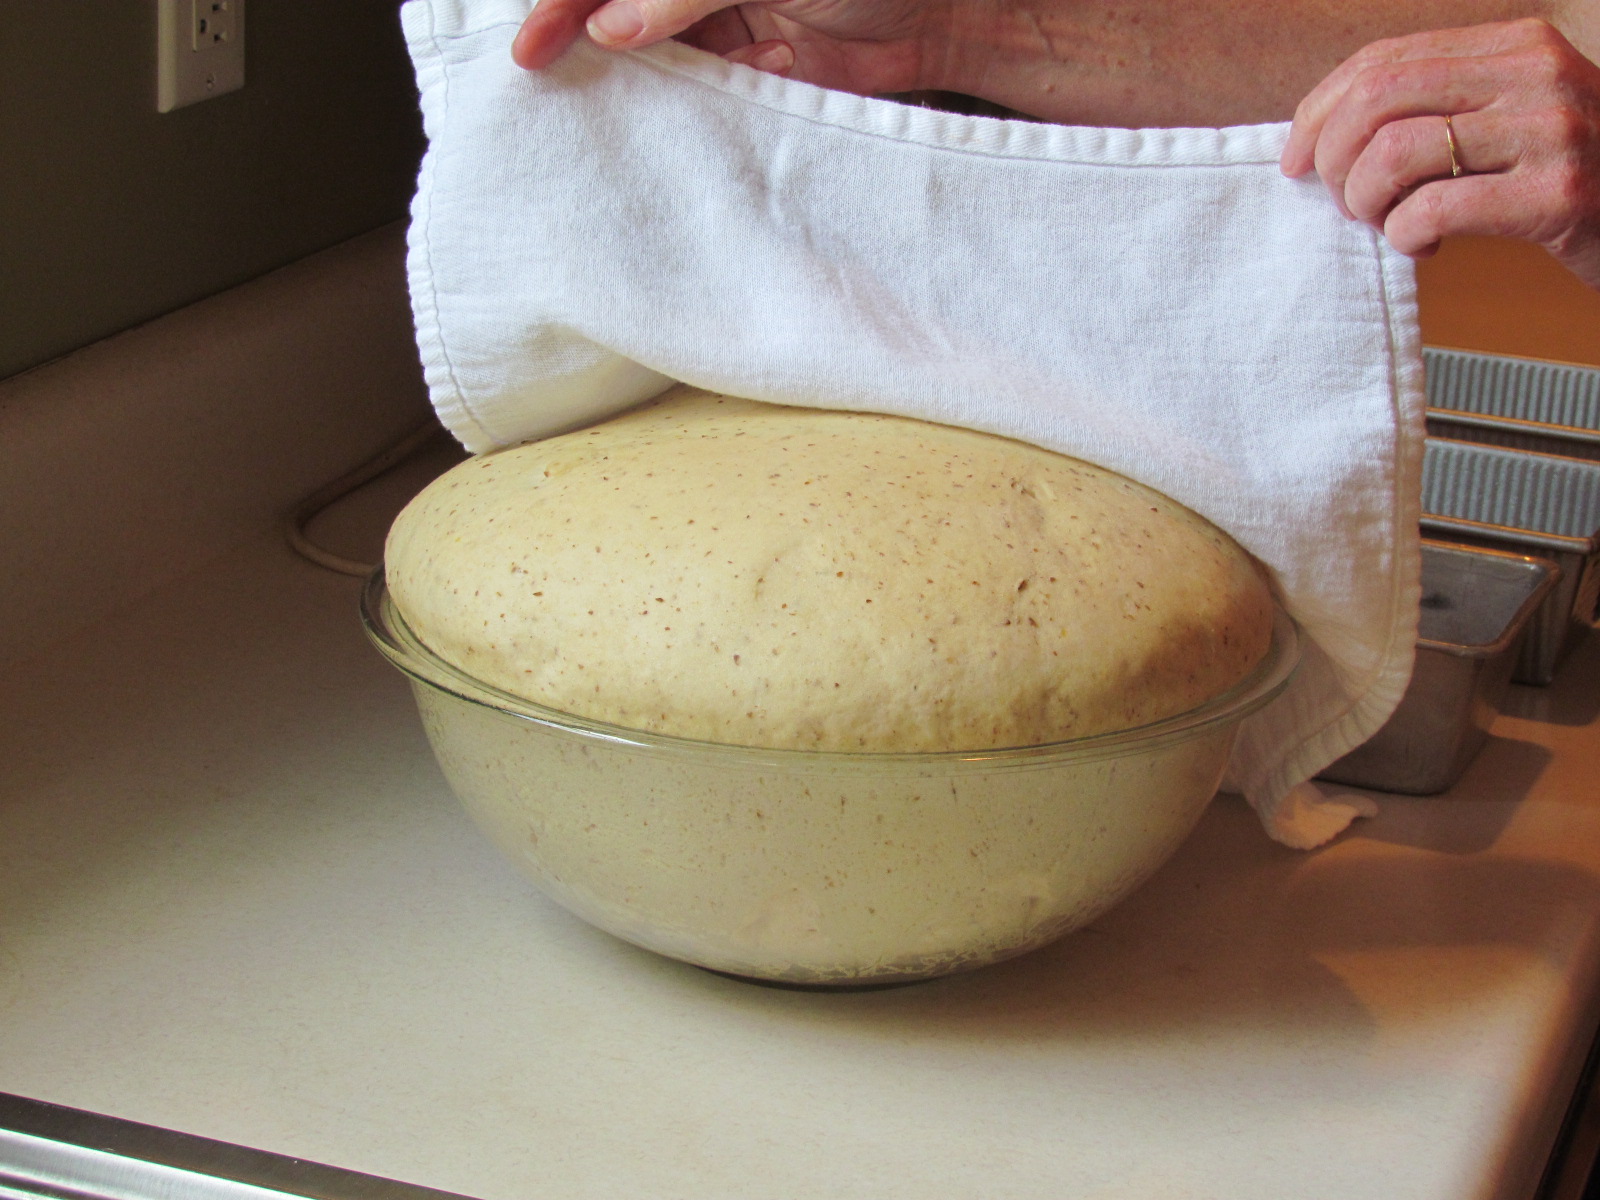
7) Set bowl in a warm place and let it rise until doubled in size, about an hour. I’ve found that letting it rise in a warm oven works best for me. I preheat it to the lowest temperature (170 degrees) and then turn it off before putting the dough in to rise.
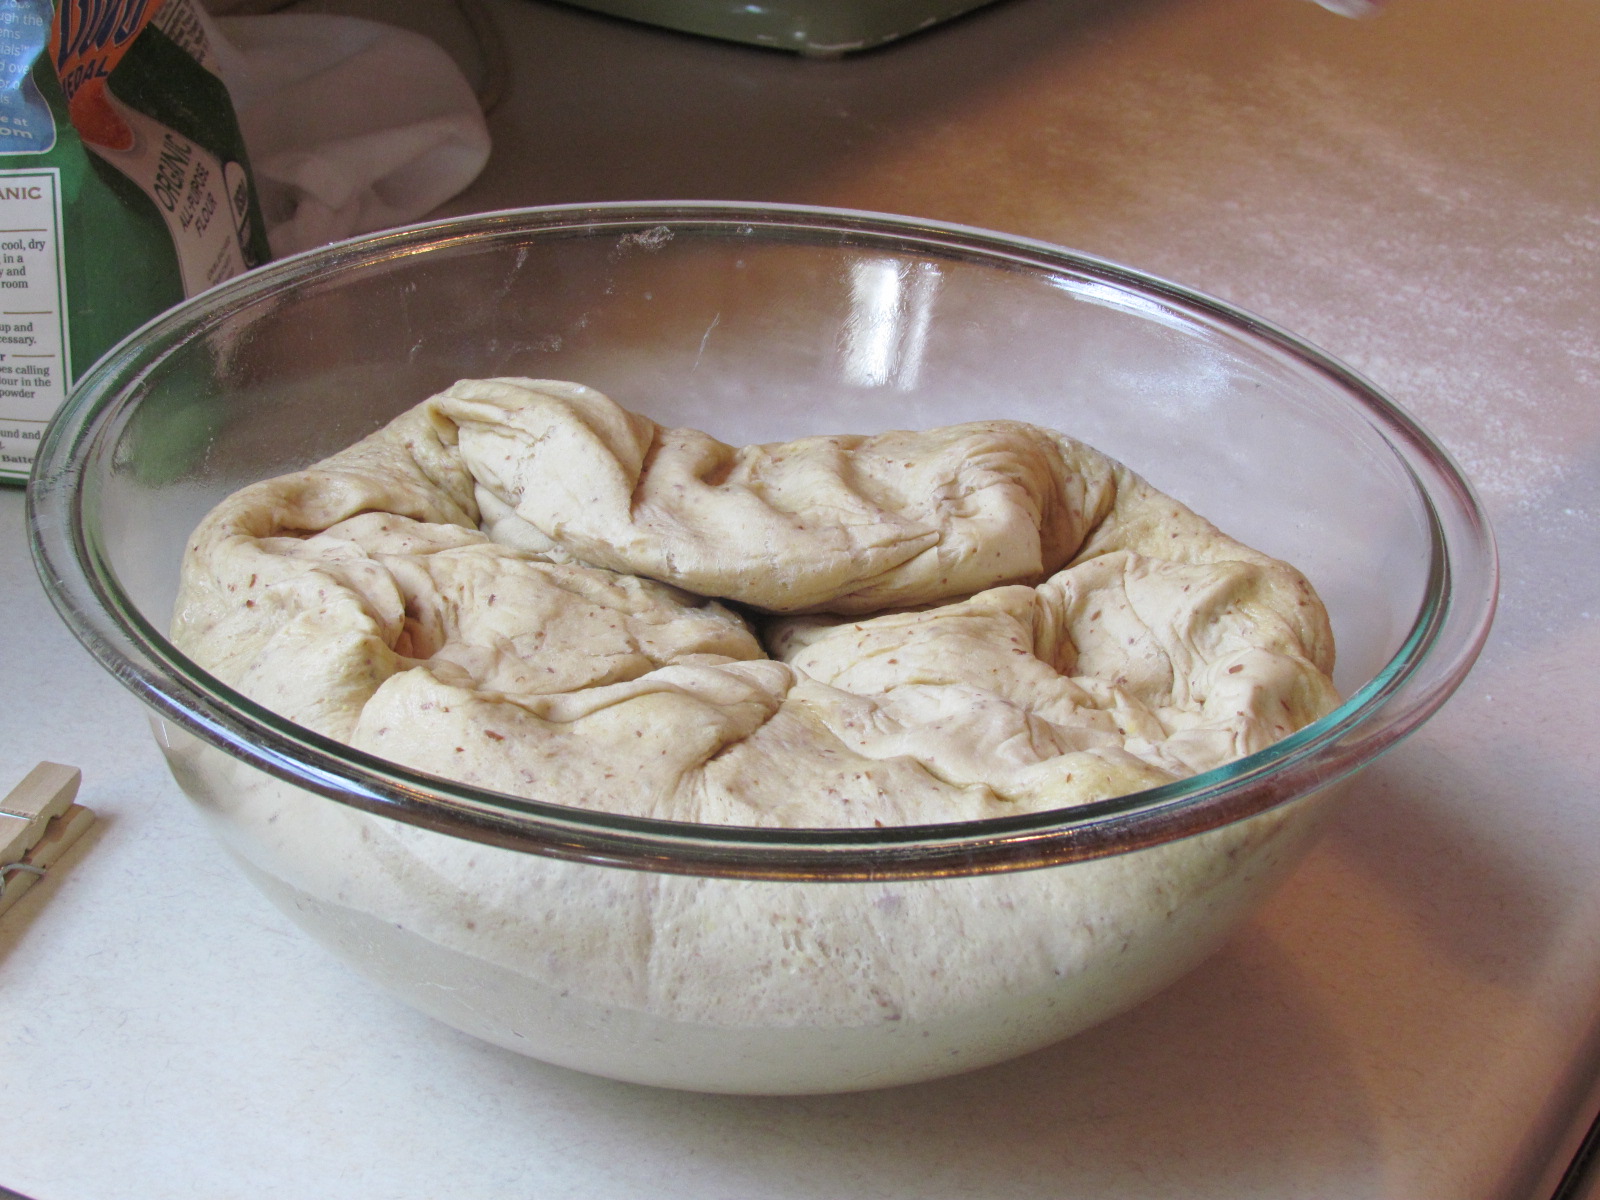
8) After the dough has doubled, punch down the dough in the bowl. (This is fun!)
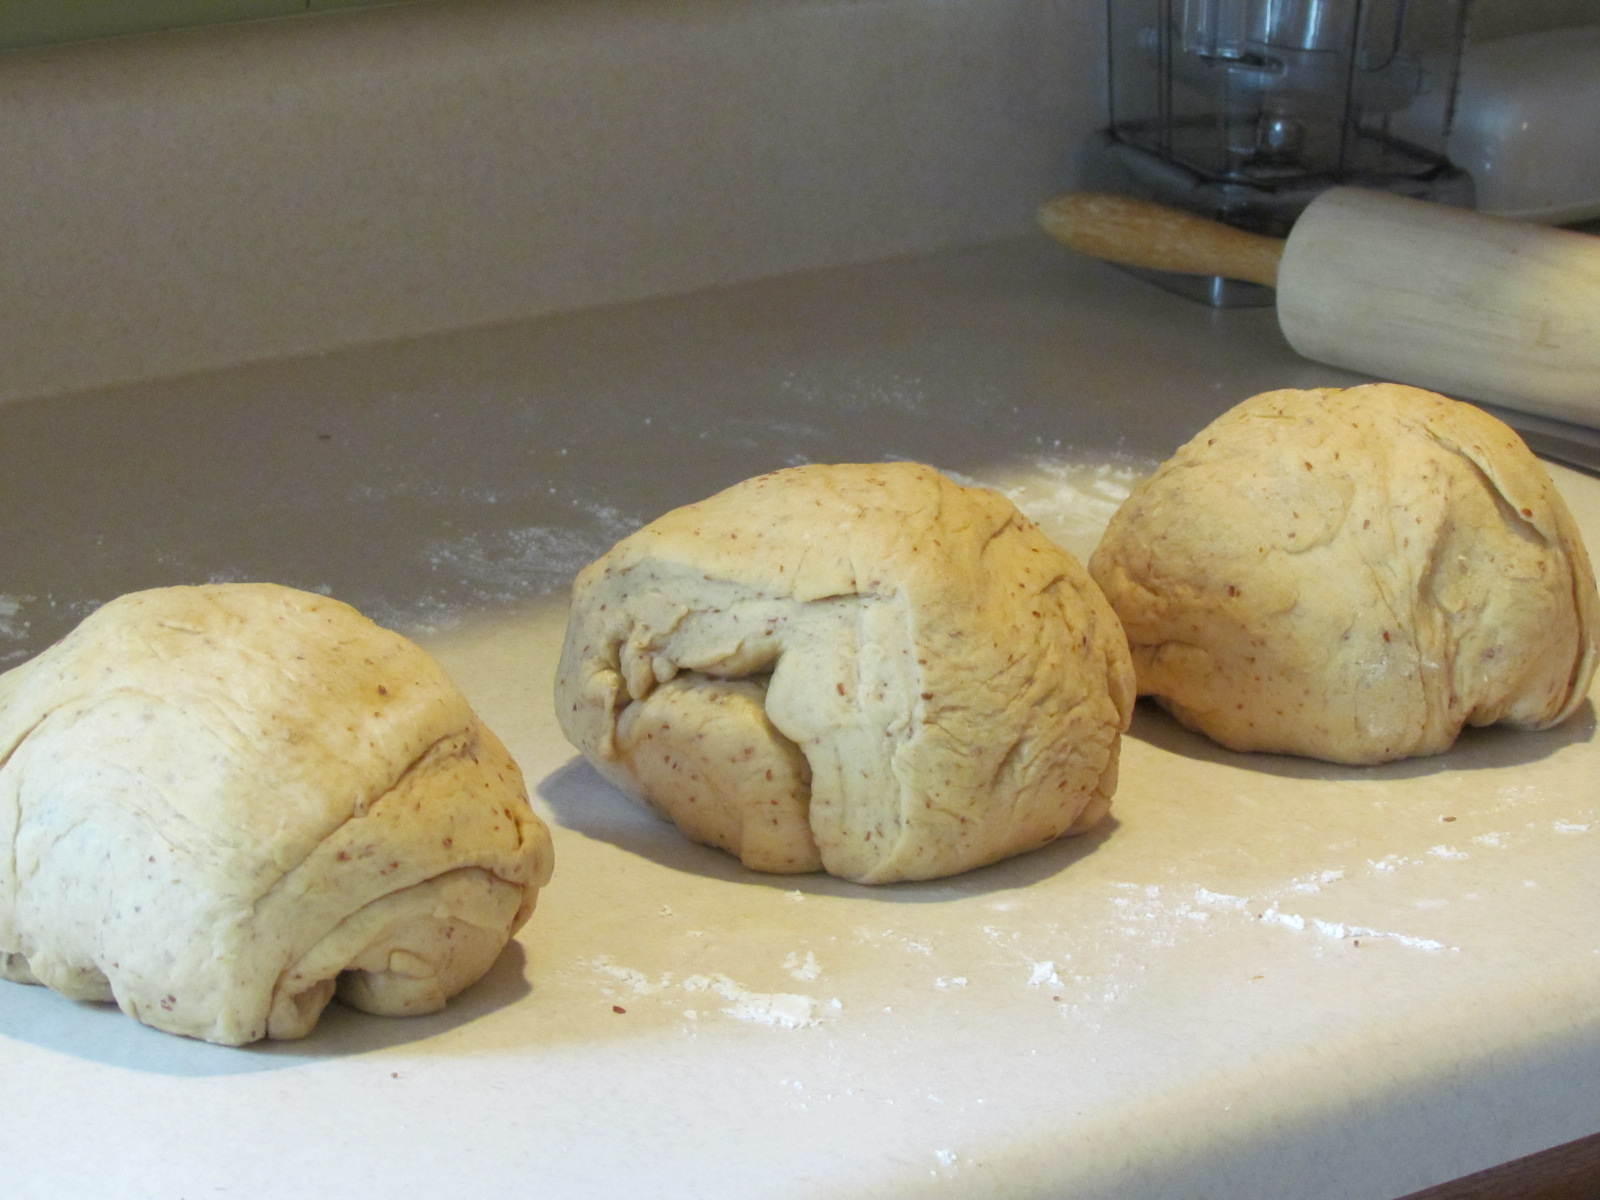
9) Then, divide the dough evenly into three equal parts on a lightly floured surface. A food scale makes it easier to divide the dough exactly. I just eyeball it myself.
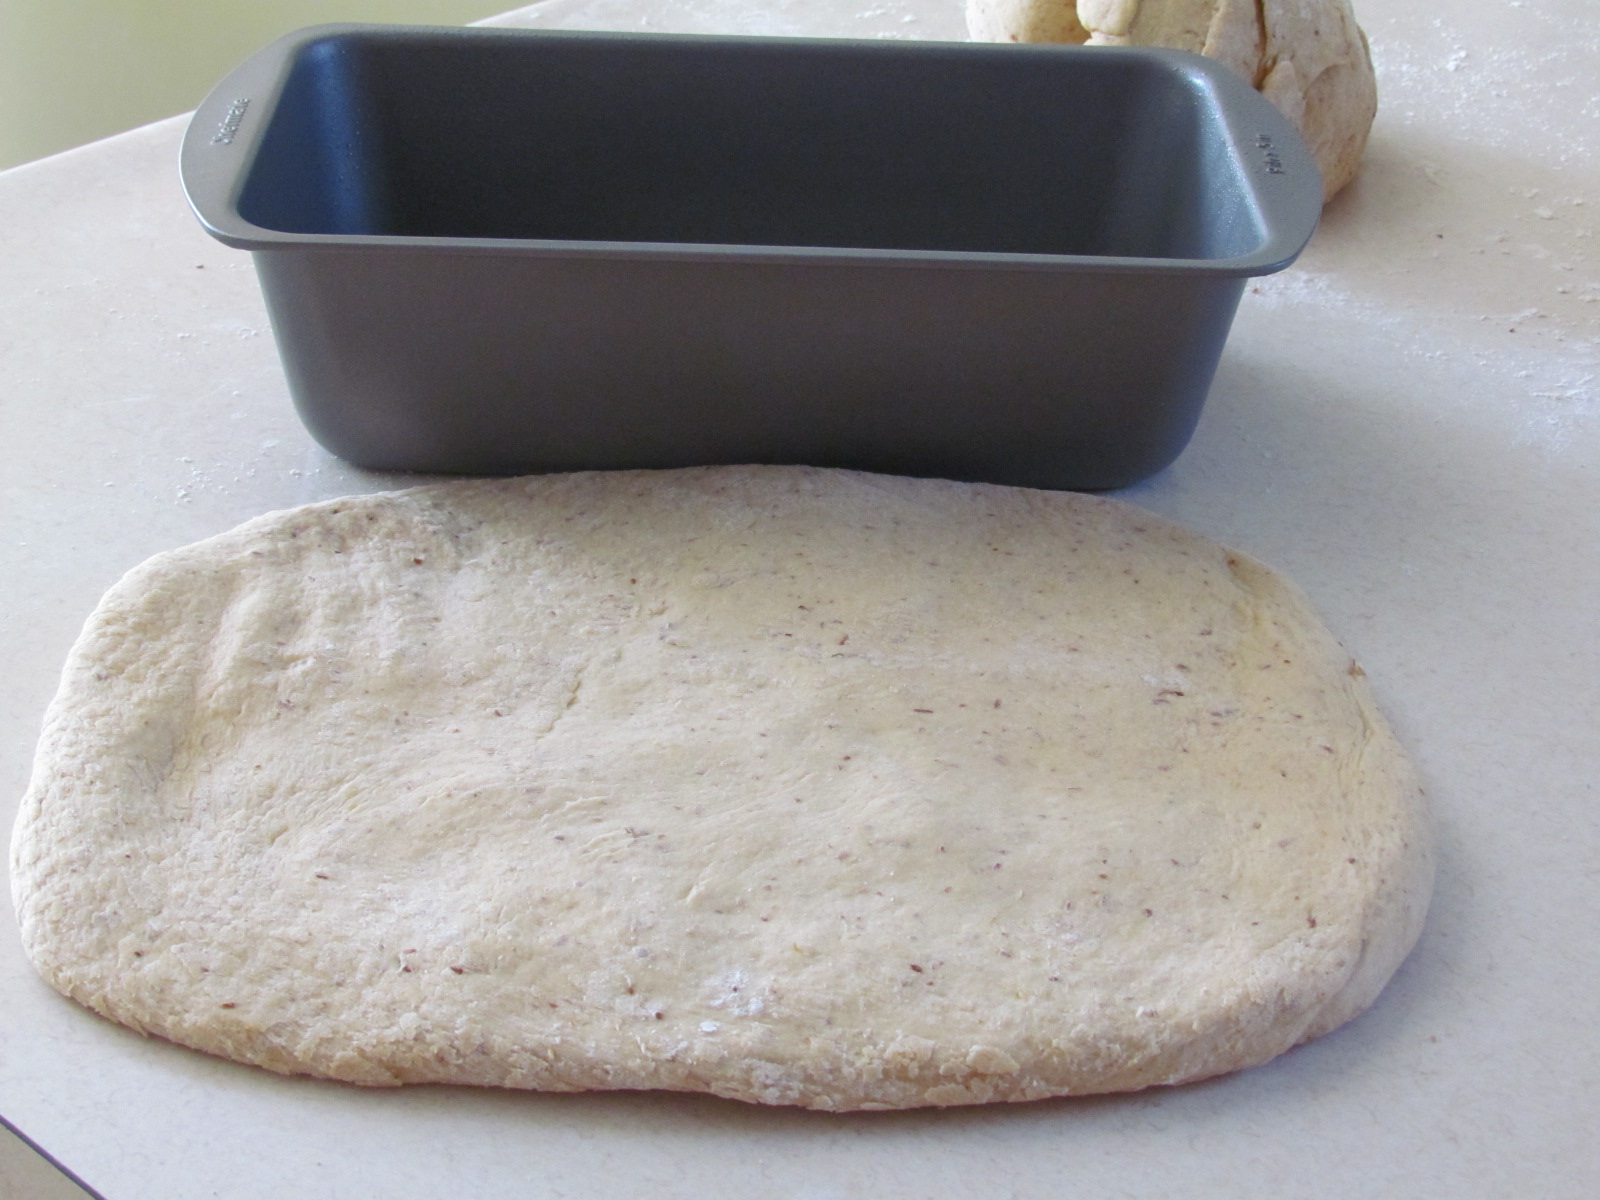
10) Roll out each portion of dough with a rolling pin to remove air bubbles.
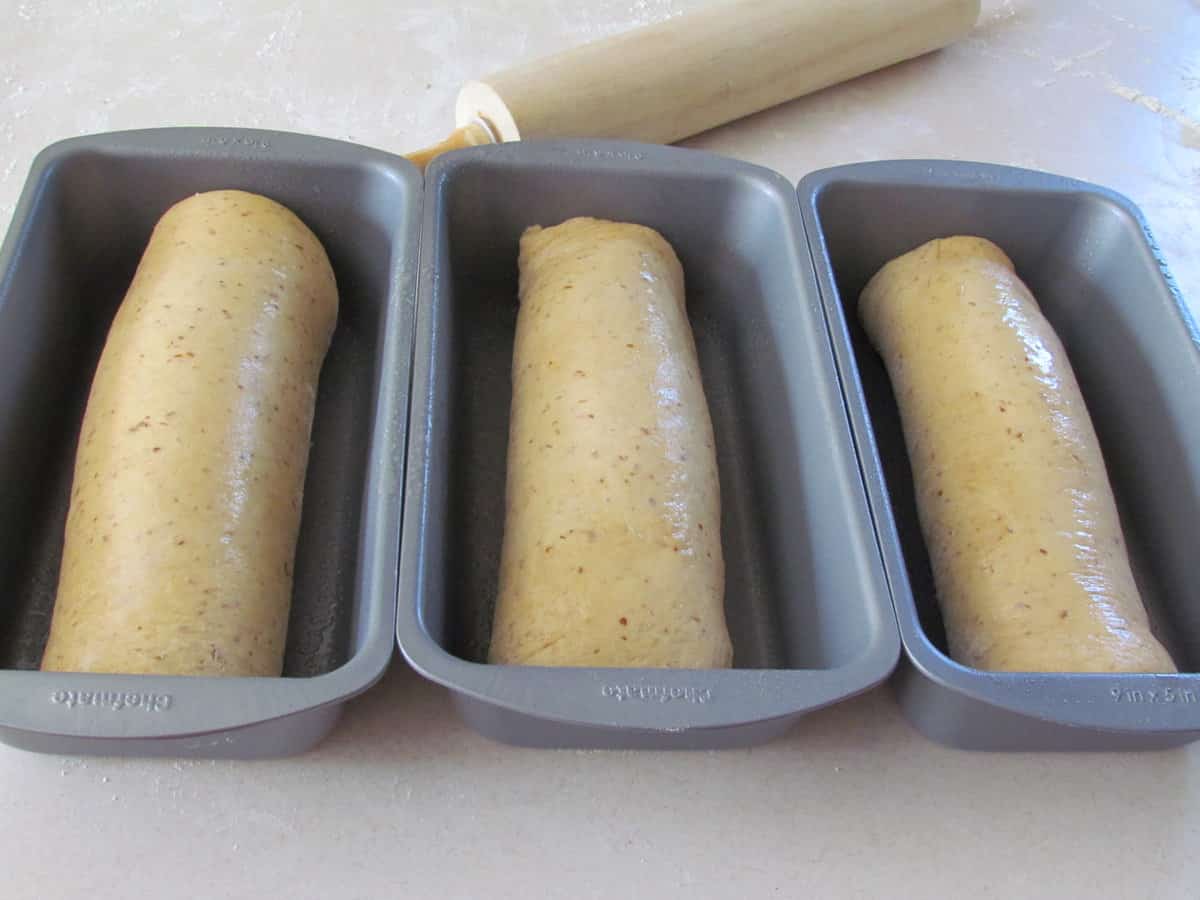
11) Then, roll up each one into a loaf size and put into pan seam-side down. Sometimes I have to squish and reshape the dough roll a little to make it fit into the loaf pans the right way. Spray tops of loaves with baking spray.
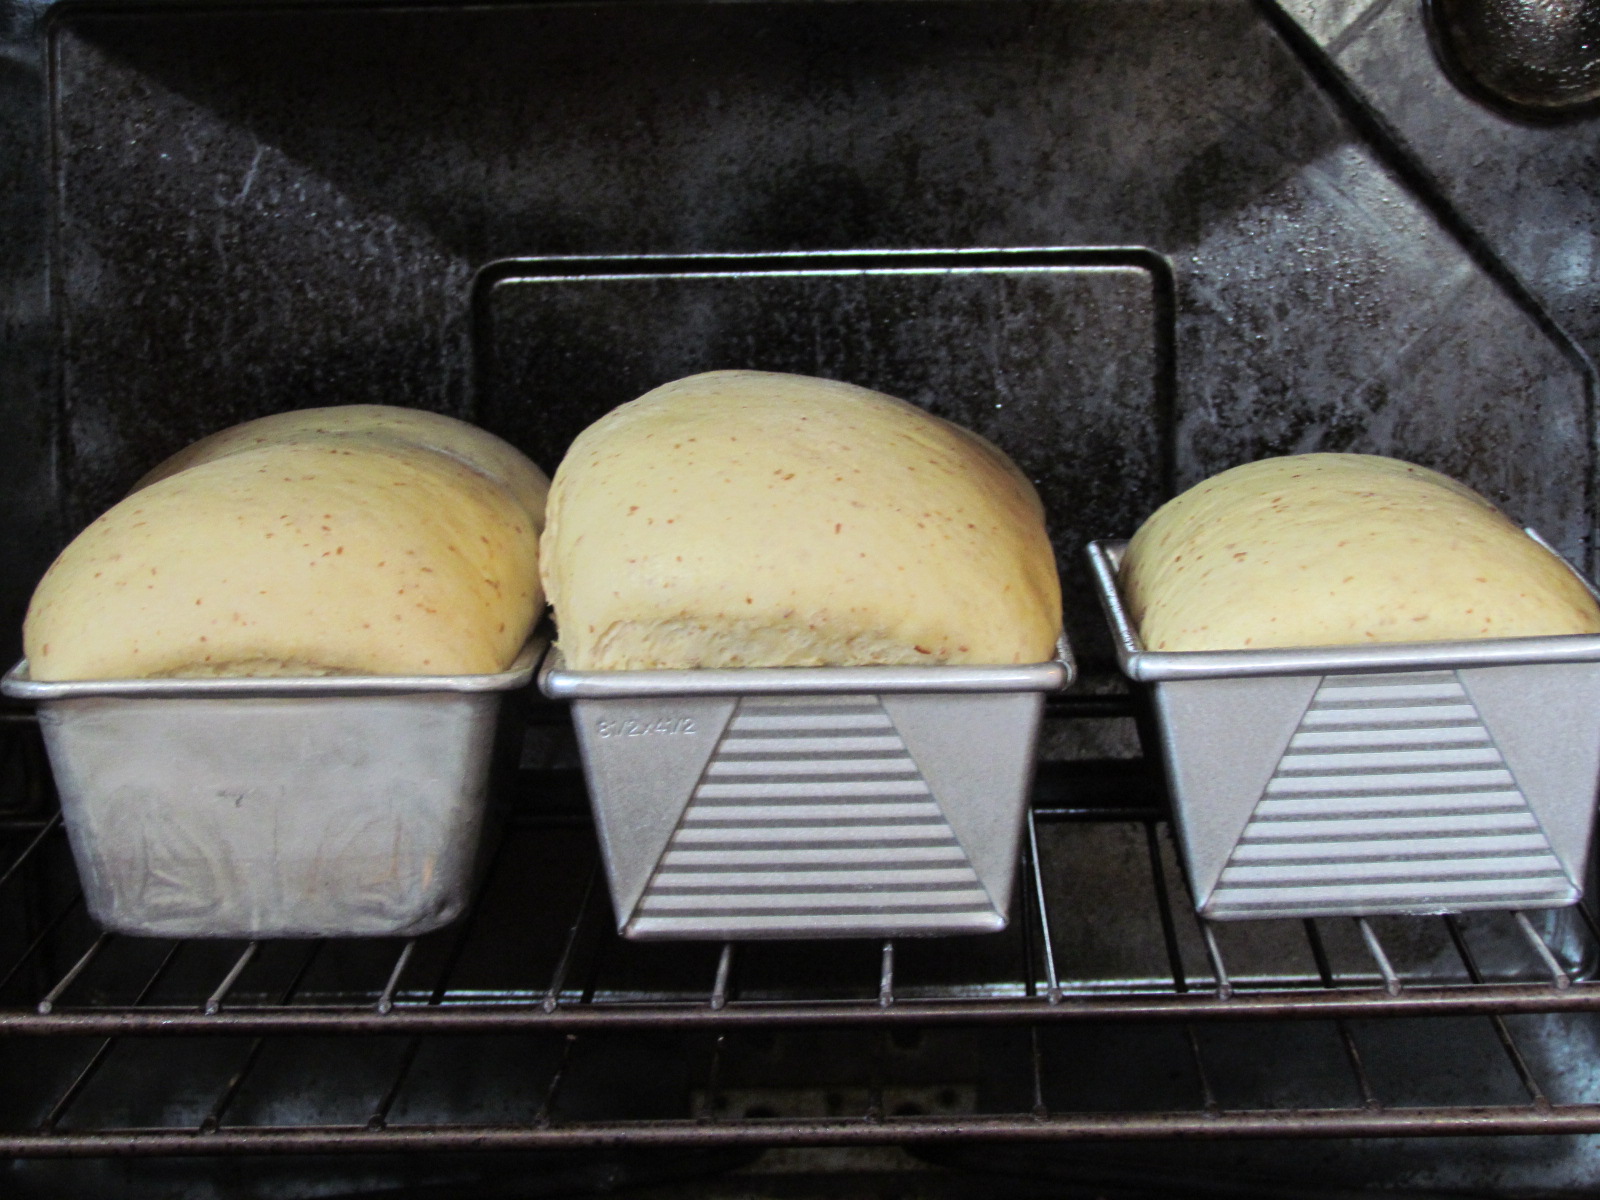
12) Cover with the light towel again and let rise again only until it’s doubled, about 30-40 minutes. Again, I do this in a slightly warm oven (about 170 degrees). Note: Do not let it over rise or the bread will deflate when it bakes!
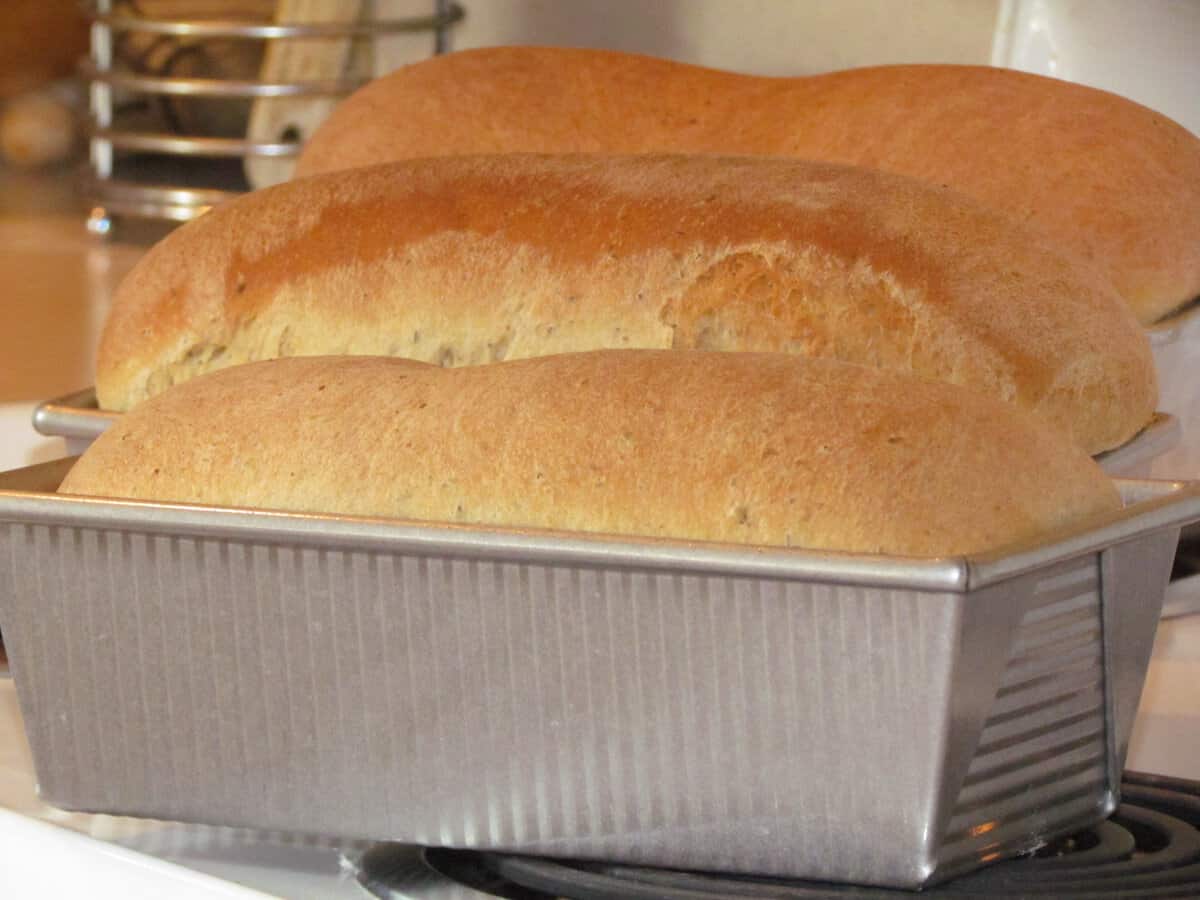
13) Bake loaves on the middle rack at 350°F degrees for about 25 minutes or until top is golden brown.
(Important Cooking Note: If you preheat the oven first, the loaves take about 25 minutes to bake. But, if you let your bread rise in a 170°F degree oven like I do, then simply leave the bread in there, remove the towel that’s on top, and turn the temp to 350°F degrees. This method takes about 30 minutes.)
To test for doneness, look for golden brown tops and tap the tops. If the loaves sound hollow, then they baked through.
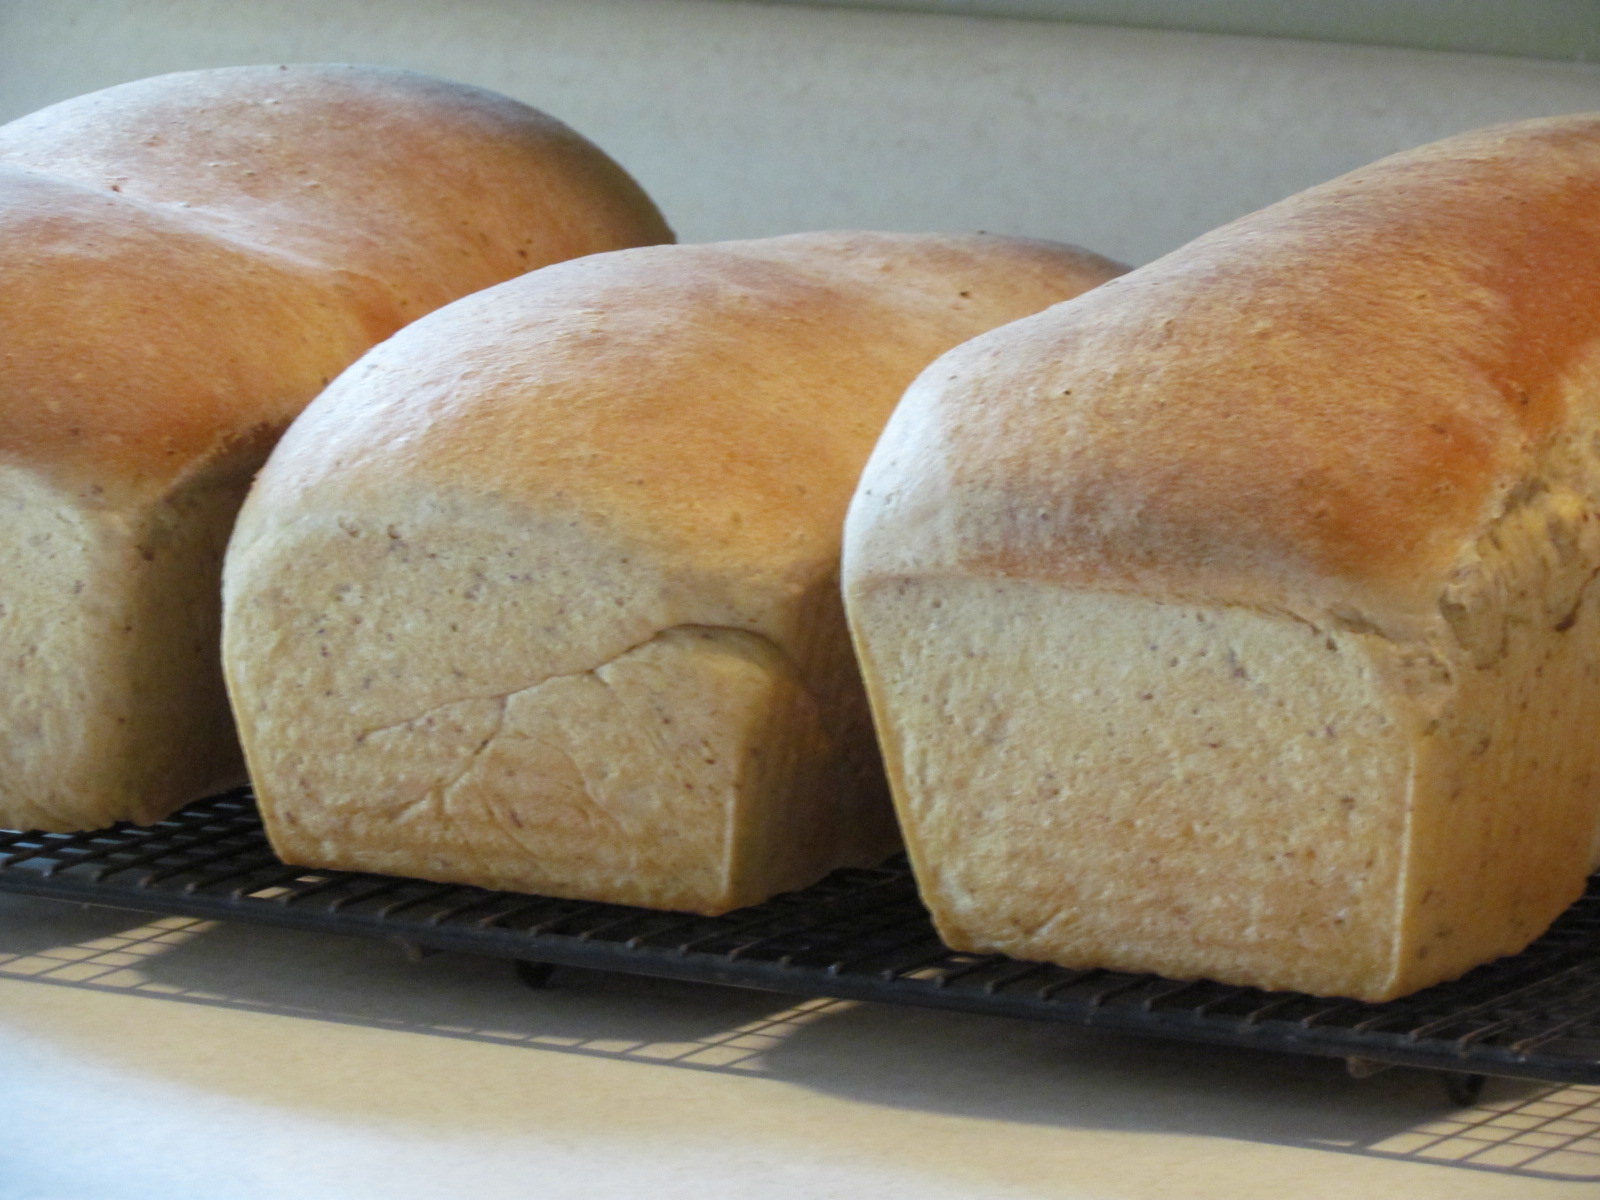
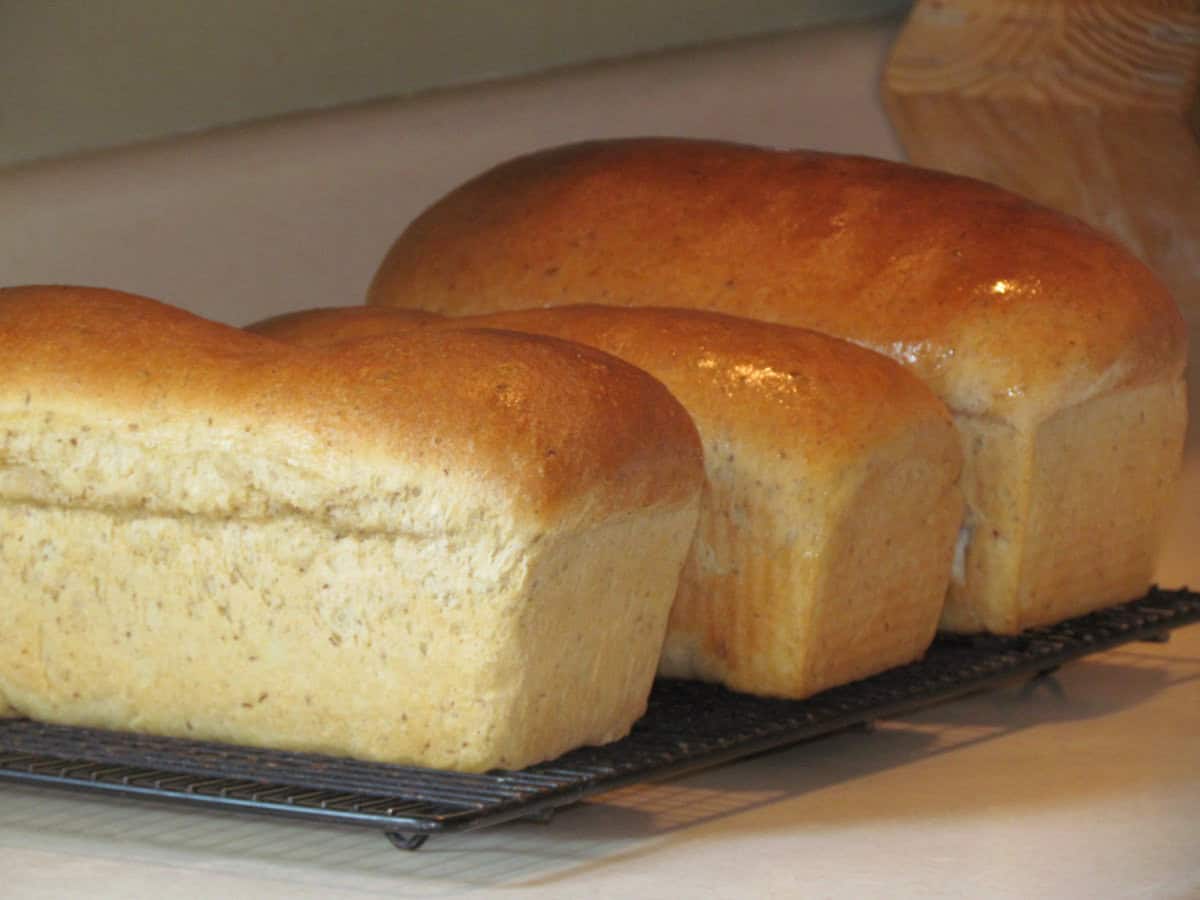
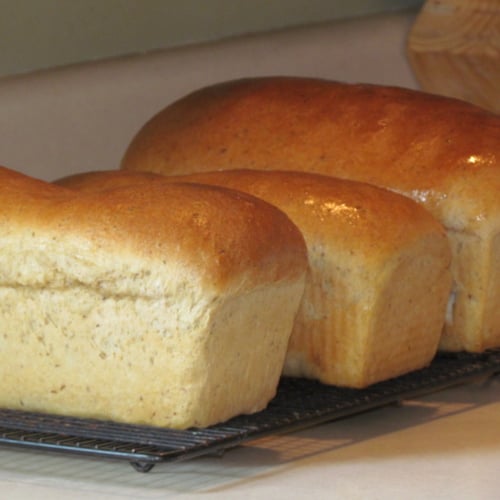
14) Let loaves completely cool in the pan on a wire rack.
15) Optional: Take a cold stick of butter while they are still warm, and run it over the top as soon as they come out. (Do this! It looks so pretty and tastes so good.)
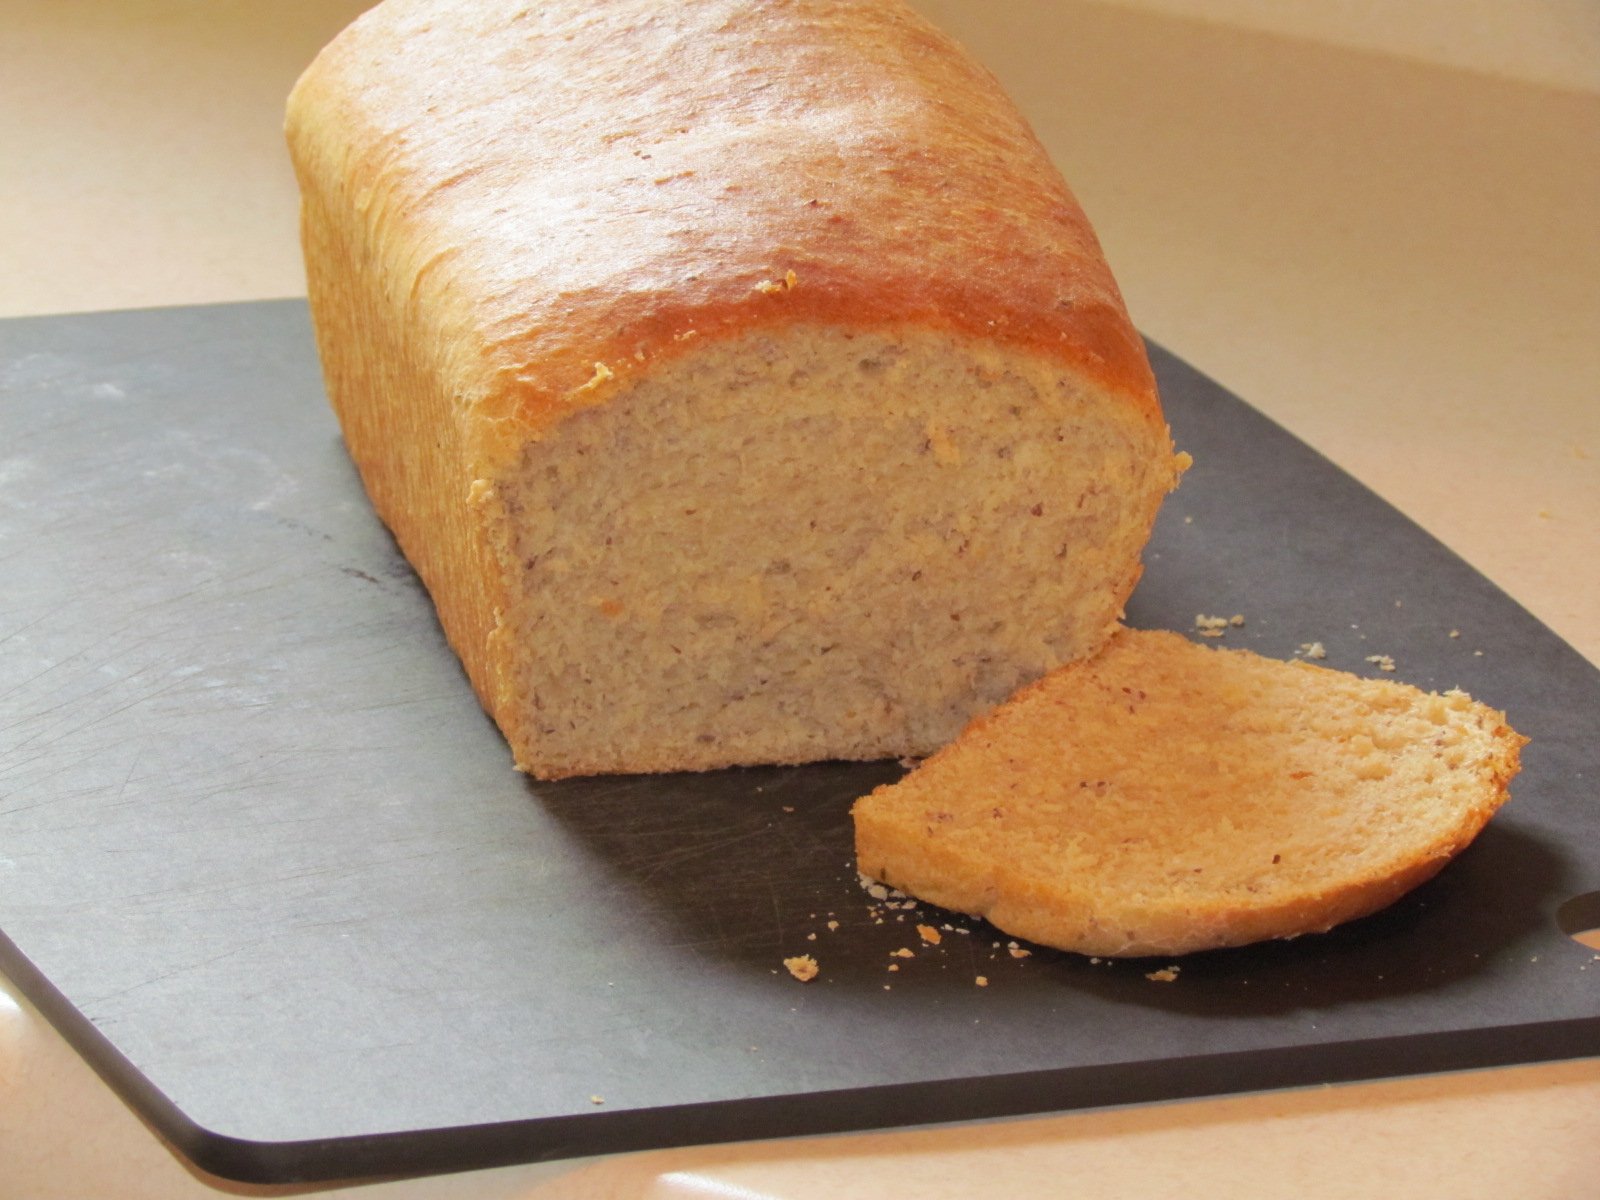
16) Once the bread is cool, slice on a cutting board and serve! Tip: Using a bread knife, saw back and forth and don’t press down on bread.
Below is a nice printable version of this recipe for you. May your home be filled with warmth and soulfulness as you make this homemade wheat sandwich bread!
Homemade wheat sandwich bread is the best sandwich bread I’ve ever tasted. I’m not exaggerating. Not only is it all recognizable ingredients (aka real food!), but your family will gobble it up and it’s cheap.
Ingredients
3 cups warm water (110–115 degrees)
1 ½ tablespoons yeast
¼ cup packed brown sugar
3 ½ cups unbleached white flour, plus 1/2-1 cup more as needed (if dough is too sticky and for dusting the counter)
3 ½ cups white whole wheat flour
¼ cup ground flaxseed
1 tablespoons salt
3 tablespoons vital wheat gluten, optional
1/3 cup extra virgin olive oil
a cold stick of butter, optional (do not use if making this dairy-free)
Instructions
In your kitchen aid mixer bowl, add warm water, yeast, and sugar. Stir until combined and let stand 10 minutes. Should become foamy on top, if the yeast was activated.
Meanwhile, in large mixing bowl, whisk together flours, flaxseed, salt, and vital wheat gluten (optional).
Add olive oil into the yeast/water mixture. Don’t stir.
Using the bread hook, add flour mixture slowly (about 1 cup full at time) on a low setting in Kitchen Aid Mixer and then let it knead for about 10 minutes. Add a little more flour if it’s too sticky. Stop and take it off the hook every few minutes to assure it’s mixing well. (I do this about 3-4 times.)
Place in large greased bowl. Turn dough ball around in the bowl to get it greased all around. Then cover the bowl with a smooth dishtowel. Set bowl in a warm place and let it rise until doubled in size, about an hour.
Punch down the dough in the bowl. Then, divide evenly into three equal parts on a lightly floured surface.
Roll out each portion of dough with rolling pin to remove air bubbles. Then, roll up each one into a loaf size and put into a greased pan seam-side down. Spray tops of loaves with baking spray.
Cover and let rise again only until it’s doubled, about 30-45 minutes. Note: Do not let it over rise or the bread will deflate when it bakes!
Bake loaves on the middle rack at 350 degrees for 25-30 minutes or until top is golden brown. (Important Cooking Note: If you preheat the oven first, it takes about 25 minutes to bake. But, if you let your bread rise in a 170 degree oven like I do, then simply leave the bread in and turn the temp to 350 degrees. This method takes about 30 minutes. To test for doneness, look for golden brown tops and tap the tops. If the loaves sound hollow, then they baked through.)
Let loaves completely cool in the pan on a wire rack. Optional: Take a cold stick of butter after it’s done, and run it over the top as soon as it comes out.
Then gently turn the loaves out and slice on a cutting board. Tip: Using a bread knife, saw back and forth and don’t press down on bread.
1501.1 g196 mg7.4 g19.5 g3.1 g3.7 g0 mg
ht: Thanks to Tanya P. for her original sandwich bread recipe!


 I really encourage you to give this recipe a try and let me know how it goes!


 Prep Time: 2 hours
 Yield: Makes: 3 loaves
 Category: Bread
 Method: Baking
 Cuisine: American