

Once you learn how easy it is to make homemade pita bread, you won’t ever want to go back to the store-bought versions! Follow along with this easy step-by-step guide, and let’s make the best soft, fluffy pita bread together.

This recipe was inspired by a vegan food tour I attended with Vibe Israel. I was introduced to so many new flavors, cuisines, and cultures on my trip, and I absolutely fell in LOVE with the food.
Making my own pita at home definitely took a bit of trial and error, but I think I nailed it in the end. It’s not only vegan-friendly (of course), but requires just 5 simple ingredients you probably have in your kitchen right now.
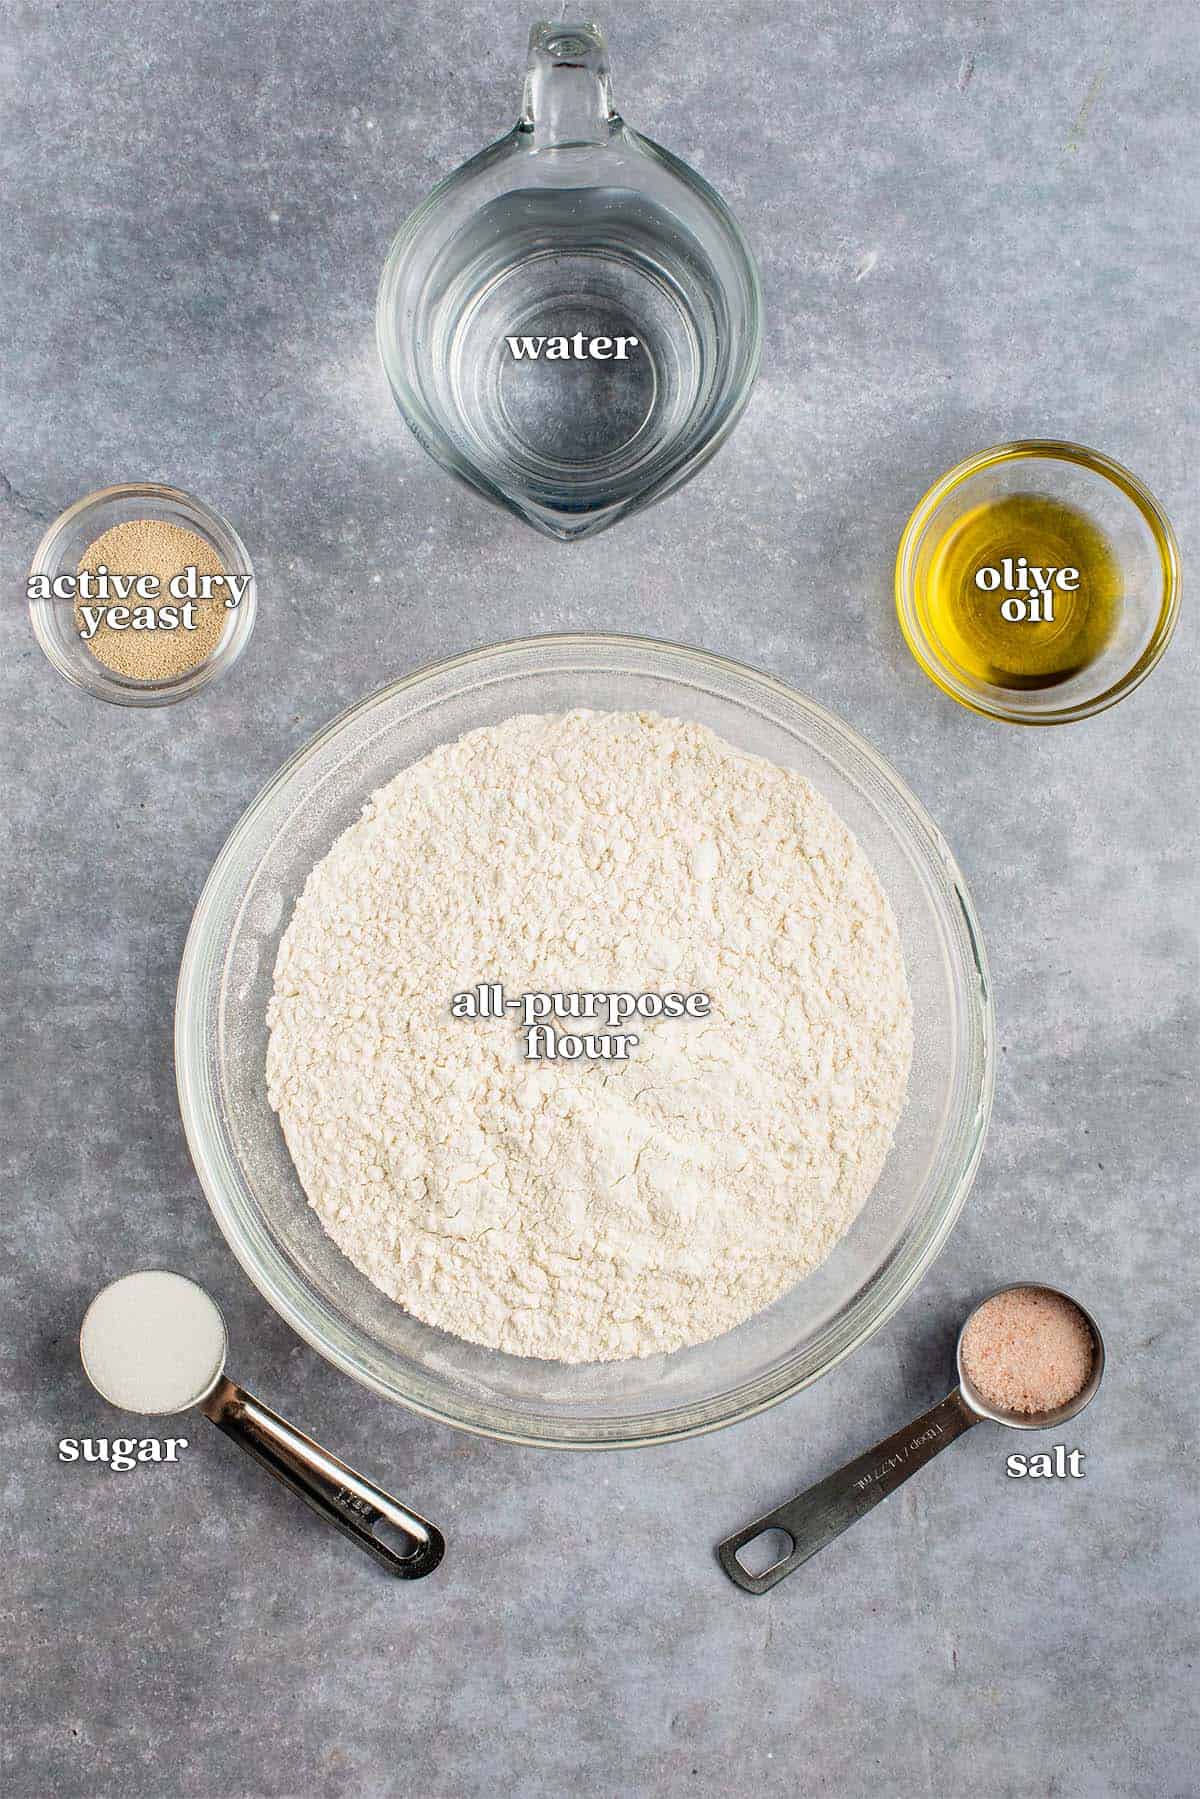
Ingredients You’ll Need
- Warm water: Lukewarm water that’s roughly 105-110°F is essential to activating the yeast quickly. If you don’t have a kitchen thermometer, use water that’s warm like bath water. You don’t want it to be hot as this will kill the yeast, but you don’t want it to be cold either or the activation process will move very slowly.
- Sugar: A tablespoon of sugar adds flavor to the dough, assists in making it as fluffy and tender as possible, and most importantly, gives the yeast something to feast on which in turn makes it rise and gives this pita bread it’s classic pockets.
- Dry active yeast: We like to use dry active yeast, not instant yeast but either will work in this recipe. If you opt for instant yeast, you’ll only need about 1 3/4 teaspoons.
- Flour: We wanted this pita bread to be as classic and fluffy as possible and went with all purpose flour. If you’d like to make your pita bread slightly more nutritious, replace 1 cup of the flour with whole wheat flour.
- Olive oil: Extra virgin olive oil is the popular choice in Mediterranean cooking, but any neutral-tasting oil will work in it’s place.
- Salt: Salt adds more to the pita dough than you think! It adds flavor, helps make the soft dough chewy and delicious, and helps create the perfect pocket bubbles in the fluffy pitas.
Equipment Needed
- Stand mixer with dough hook attachment (or large bowl)
- Whisk
- Clean kitchen towel
- Plastic wrap
- Sharp kitchen knife
- Cast-iron skillet
- Spatula


How to Make Homemade Pita Bread
- Bloom the yeast. Add the warm water, sugar, and active dry yeast to the bowl of a stand mixer along with 1 cup of flour. Whisk the yeast mixture together until uniform and set aside for 15 minutes. After 15 minutes, this mixture should bubble and foam. If it doesn’t, it’s possible the yeast was not fresh or the water was too warm. If this is the case, you’ll unfortunately need to start over.
- Add the remaining ingredients in. Add the olive oil, salt, and 1 1/2 cups of flour into the bowl. Fit the stand mixer with the dough hook attachment and begin to mix on low speed. Continue to mix until the dough is soft and no longer sticks to the sides of the bowl, about 5 to 6 minutes. If you find your dough continues to stick, add up to 1/2 cup more additional flour.

- Let the dough rise. Turn the dough onto a lightly floured work surface and form the dough into a ball. Lightly oil a large bowl (use the bowl of the stand mixer for less dishes!), place the dough ball in the lightly oiled bowl and turn it to coat in oil on all sides. Cover with a clean kitchen towel and set the dough in a warm area to double in size, about 2 hours.

- Cut the dough into 8 pieces. Remove the dough from the bowl and place onto a floured work surface. Form the dough into a large ball and cut the dough into 8 equal-sized pieces using a sharp knife.
- Rest the dough for 30 minutes. Form each piece of dough into a small ball, pulling dough from the sides and tucking the ends underneath the bottom. Place the balls about 1-inch apart onto the floured work surface and cover them with a lightly oiled piece of plastic wrap. Let the dough rest for 30 minutes.

Cooking Pita Bread on the Stovetop
- Roll the pita bread. Roll the dough balls out into flat, round pitas, about 1/4-inch thick.
- Rest the dough once more. Once the pita bread is formed and flat, allow it to rest once more for 10-30 minutes.
- Cook the pita bread. Prep a cast iron pan and heat over medium-high heat. Add the pita dough into the skillet and cook until bread begins to puff up, about 3 minutes. Flip and cook for 2 minutes more.
- Serve. Serve this pita bread immediately as desired or store until ready to eat.

Serving Suggestions
This homemade pita bread recipe is incredibly versatile. It makes the perfect side, pita pocket sandwich “bread”, pizza crust, or dipper for your favorite spreads. Here are a few of our favorite ways to use it:
- As a dipper: In our opinion, pita bread was made for dipping in homemade hummus. Learn How to Make the Best Hummus at Home or try our Creamy Pesto Hummus, this 5-Minute Creamy Lentil Hummus, or this Oil-Free Roasted Red Pepper Hummus.
- A pizza/flatbread crust: If you want to make pizza night ultra easy, skip the Homemade Pizza Dough and repurpose this pita bread into a White Pizza with Zucchini and Tomatoes or this Vegan Chicken Pesto Pizza.
- Pita pocket sandwiches: If you’ve never tried a pita pocket sandwich, they’re absolutely delicious and as an added bonus, keep your sandwich fillings from sliding out of the inside of the sandwich. Make your own with Baked Falafel, Vegan Feta Cheese and your favorite favorite Mediterranean veggies or get some Vegan Sandwich Ideas here on the blog.
- As a side dish: Serve homemade pita on the side of a Vegan Mediterranean Buddha Bowl, a Grilled Vegetable Salad or this Vegetable Rice Pilaf.

Recipe FAQs
Absolutely. If you don’t have a stand mixer or simply want to make this recipe by hand, no worries. Form the dough in a large mixing bowl with a wooden spoon until a shaggy dough forms. Then, knead the dough by hand until soft and no longer sticky. This method will take a bit more work, but it can absolutely be done!
No. Yeast feeds on sugar, and sugar is the catalyst that begins the process of activating the yeast and fermentation. The yeast ends up consuming the sugar and allows the dough to rise. For this reason, the sugar plays a key role in raising the dough and making this pita bread as fluffy as possible.
We haven’t tested it, but leaving out the yeast would greatly change the end result. Instead, we’d recommend checking out our yeast-free Gluten-Free Flatbread Recipe or these Whole Wheat Spinach Tortillas.
Again, we haven’t tested this recipe with gluten-free flour. Instead, we’d recommend giving our Gluten-Free Flatbread Recipe a go. It has been specifically developed using gluten-free flour and will be sure to give you a great result. If you’d like to experiment with using gluten-free flour in this recipe, we’d recommend using Bob’s Red Mill all-purpose gluten-free flour blend.
Storage Instructions
Keep leftover pita bread at room temperature for up to 1 week or in the freezer for up to 3 months. When storing, we highly recommend keeping it in an airtight container or an airtight freezer bag, such as a plastic bag or Stasher bag. If the bread is exposed to air for a prolonged period of time, it will dry out and be significantly less fluffy.
If you are freezing several pieces of pita bread, it can be helpful to either flash freeze the pitas on a baking tray before storing or place a piece of parchment paper between each piece of pita to prevent it from sticking together in one frozen block.

More Homemade Bread Recipes You May Enjoy:
- Fluffy Vegan Egg Bread – Making a loaf of bread doesn’t require a fancy bread maker. All you need is 6 simple ingredients!
- 4-Ingredient No Knead Bread – There’s nothing better than an easy bread recipe that requires no kneading.
- Vegan Pandesal – Soft, fluffy, sweet bread rolls great for snacking or pairing with your favorite filipino meals.
- Homemade 100% Whole Wheat Bread – A versatile sandwich bread that’s wholesome and hearty.
- Vegan Irish Soda Bread – An Irish bread made with raisins that’s ready in under 1 hour.
If you make this recipe, let us know what you think in the comments below! + If you post any photos on Instagram, make sure you tag us @sweetsimplevegan and @consciouschris so that we don’t miss it, we love seeing your photos!
Print
Easy Homemade Pita Bread Recipe
- Author: Jasmine @ Sweet Simple Vegan
-
 Total Time: 3 hours 30 minutes
 -
 Yield: 8 pitas
Description
Once you learn how easy it is to make homemade pita bread you won’t ever want to go back to the store-bought versions! Follow along with this easy step by step guide and let’s make the best soft, fluffy pita bread together.
Ingredients
- 1 cup (8 oz.) lukewarm warm water (about 105–110°F)
- 1 tablespoon sugar
- 2 1/4 teaspoons (1 package) active dry active yeast
- ~3 cups all-purpose flour (or enough to form a soft and slightly sticky dough)
- 1 tablespoon extra virgin olive oil
- 1 3/4 teaspoons salt
Instructions
- Add the warm water, sugar, and yeast to the bowl of a stand mixer along with 1 cup of flour. Whisk everything together until uniform and set it aside for 15 minutes. The mixture should bubble and foam.
- Add the olive oil and salt, along with 1 1/2 cups of flour. Mix on low speed, using a dough hook attachment, until the dough is soft and no longer stick to the sides of the bowl. If it does stick, add an additional 1/4 cup of flour at a time (we added 1/2 cup more for a total of 2 cups).
- Knead on low for 5 to 6 minutes.* Remove the dough from the bowl, turn it out onto a floured work surface and form it into a ball.
- Lightly oil a large bowl and place the dough inside. Turn it over to coat it with oil, and cover the bowl with a clean kitchen towel. Allow the dough to rise in a warm area for 2 hours or until doubled in size.
- Remove the dough from the bowl and place onto a floured work surface. Form the dough into a large ball and cut it into 8 pieces using a sharp knife. We roughly estimate here but if you would like everything to be even, use a food scale to weight out each dough piece to ensure they are equal.
- Form each piece of dough into a small ball, pulling dough from the sides and tucking the ends underneath the bottom. Place the balls about 1-inch apart onto the floured work surface and cover them with a lightly oiled piece of plastic wrap. Allow the dough to rest for 30 minutes.
- Once rested, roll the dough balls out into flat and round pitas, about 1/4-inch thick. If you do not have a rolling pin, you can simply use your hands to pat the dough flat as best you can. Allow the dough to rest for 10-30 minutes. From our experience, the longer the better! The longer the dough sits, the more likely it will form a pocket in the pita when cooking.
- Brush a cast-iron skillet with a tiny bit of olive oil and place it over medium-high heat. Add the pita bread dough into the skillet and cook until bread begins to puff up and the bottom has browned, about 2-3 minutes. Flip and cook for 2 minutes more. Although it is ideal that the pita bread will begin to puff up and fill with hot air to get the perfect “pockets”, it is not necessary or always expected. Wrap the cooked bread in a clean dish towel as you continue cooking the rest of the pita to keep them warm.
- Best if served immediately; if not, the pita will last in the airtight container at room temperature for about 5-7 days.
Notes
- Recipe adapted from Food Wishes.
- If you don’t have a standing mixer, no worries! You can simply use a large bowl and a wooden spoon, it will just take a bit more time to mix everything together by hand.
- If kneading by hand, increase kneading time to about 10 minutes.
- If the pita does not form pockets, try increasing the heat of your pan.
-
Prep Time: 3 hours
-
Cook Time: 30 minutes
-
 Category: Bread, Side
-
 Method: Stovetop
-
 Cuisine: Mediterranean, Vegan
Nutrition facts label provided by Nutri Fox.
The post Easy Homemade Pita Bread appeared first on Sweet Simple Vegan.